I love wooden toys. Love them. I think that natural wood looks just gorgeous, but sometimes, you want something with some color! Adding colors can add more worries about safety and durability, though. Will the paint I use be dangerous to my toddlers (who still lick and chew on things that interest them)? How do I make sure it won’t chip off? How do I seal it?
Imagine my pleasure, then, when I came across a website that described how to stain your wood with food coloring. Food coloring is perfectly safe for my little guys, and a stain won’t chip, flake, or peel off. Plus, instead of a thick layer of paint over it, you can still see the texture and grain of the wood underneath. And, lest you doubt, I can tell you it yields vibrant colors.
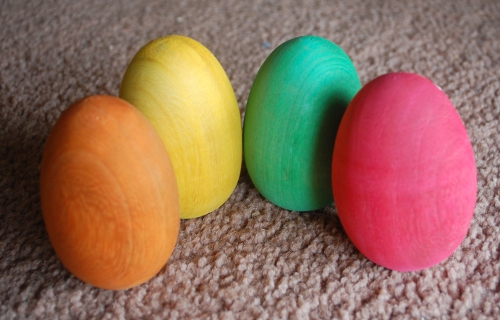
So, all you need is your wooden toy – the paler the wood, the better – sanded smooth, some food coloring, a paintbrush, and some napkins or newspaper or something to keep the dye off your counter.
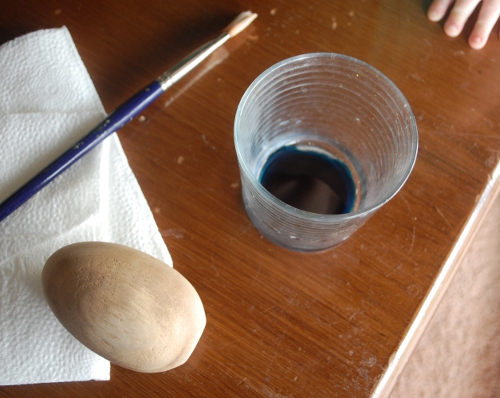
Helpful toddler optional.
Dilute your food coloring about 5 or 6 parts water to 1 part coloring. I just used a tiny splash of water and maybe 4 or 5 drops of food coloring for each egg. Then, start painting the color on.
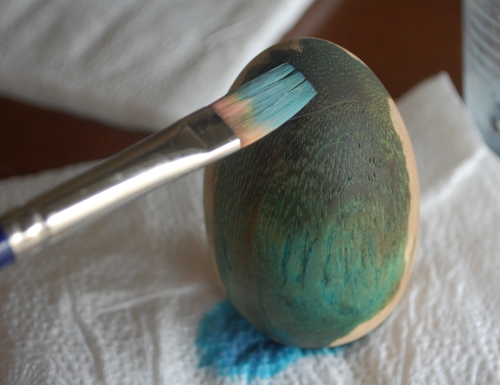
I guess painting isn’t really the right term: you need to keep the surface of the wood wet because it’s going to get soaked in. I just constantly reapplied the diluted dye, all over the surface, until I used up my little teaspoon-full.
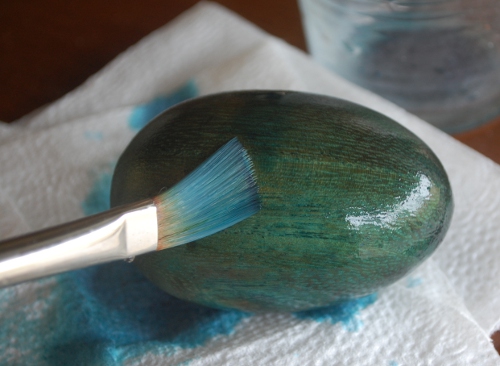
Check and make sure the color is applied evenly: some parts of the wood are going to take more dye to color than others. (Don’t forget, though: it will be darker when it is wet than when it is completely dry.) I had this one section on the red egg that just would not accept the dye, so I put two drops of food coloring directly on it and that finally did it.
Let your toy dry a good long time – overnight is best – and gently wipe the surface to remove any color that’s sitting on top of the wood instead of soaked into it.
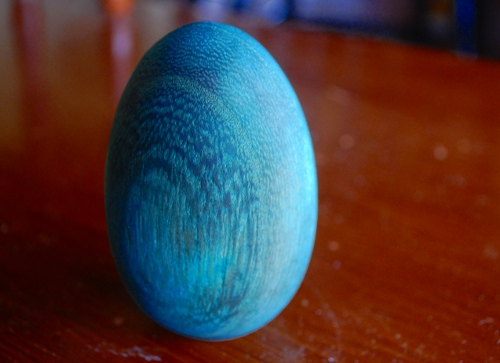
There you have it! Now, these are not finished and sealed yet – that adventure is for another day.

Very cool!
Have you seen the stuff on etsy that use blueberries to dye wooden toys…so clever! (And probably not bad tasting!)
I haven’t seen that – but I can see how it would work! Blueberries do a fair job on skin, I’m sure wood would be less likely to wash off.
Hi…such a great idea! I saw the post on Pinterest and was wondering where you got the wooden eggs. I’d be most grateful if you’d share where you bought them. I’d love to do the same thing for Easter.
Many thanks!
Hi Amy! I bought my eggs at Michael’s (you can find a lot of wooden shapes over by their woodworking supplies, these were in a basket at foot level tucked under the bottom shelf at my store. I happen to know you can buy unfinished wooden eggs online, but I’ve never ordered any that way.
Melissa,
THANKS! Michael’s was going to be my first stop unless you told me something different. I can’t wait to try this … thanks again for sharing!!!
Happy New Year!
Hi Melissa,
Can I ask what kind of food coloring you used? I’m debating whether or not to buy liquid watercolor to dye some wooden toys for Christmas, or if I should just use food coloring. It’s just a little rainbow stacking toy (not very big) so I wouldn’t need much. What do you think?
Thanks!!
Kayla Terisgni
Hi, Kayla! I just used regular liquid food coloring from the grocery store, and the dye jobs have held up quite well.
Hi Melissa,
I was wondering if you had sealed them yet and what you used! My husband does Intarsia and wants to try some different colors for staining the wood, but he usually uses polyurethane! Will that ruin the food coloring?
Thanks, Kathy
Hi Melissa,
Which kind of seal do you use on your food color?
oh really nice color wooden-toy