I was poking around the internet the other day when I ran across this homemade necklace organizer. It looked neat, simple, useful . . . well within my carpentry and crafting skills…and I decided to give it a go.
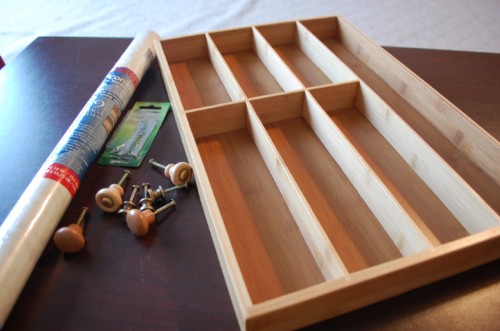
I assembled my materials: a nice bamboo silverware organizer, seven carefully assorted drawer pulls, a roll of contact paper, and a large picture hanger.
Step 1: Drill holes.
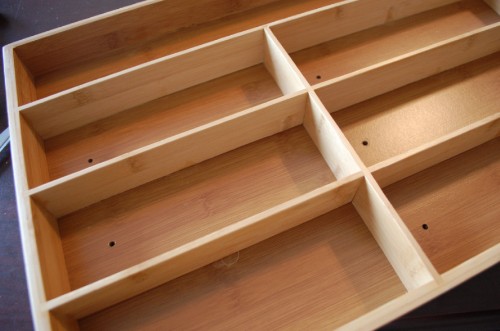
Step 2: Tentatively insert first strip of contact paper.
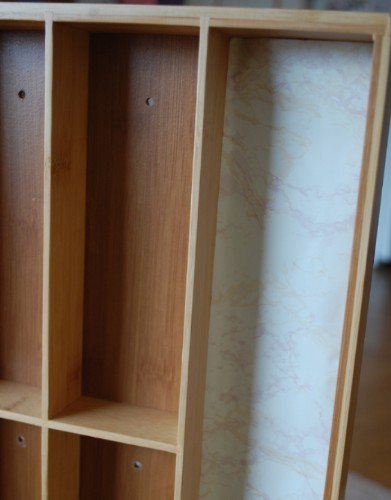
Step 3: Realize that the contact paper really looks like nothing more than contact paper, and that there’s not any reason to cover the pretty, pretty bamboo backing.
Step 4: Ditch contact paper.
Step 5: Insert first drawer pull.
Step 6: Realize that the screws for the pulls are far, far too long to be useful in such a thin material.
Step 7: Begin grinding off the ends of screws with a gutless battery-operated Dremel that was not charged after last use. Be sure to hold the screws with your bare fingers and scrounge a pair of sunglasses for eye protection from the powdered shrapnel.
Step 8: Stop to briefly charge battery.
Step 9: Grind through the screw another fraction of an inch.
Steps 10-17: Repeat steps 8 and 9 alternately.
Step 18: Make it through the first screw.
Step 19: Plug battery back into charger and find something else to do.
Step 20: Wait three hours.
Step 21: With the power of electricity, rapidly grind through five more screws.
Step 22: Grind the final screw too short to be useful.
Step 23: Cry.
Step 24: Poke through the garage until you find the gallon ziplock of “assorted hardware” that you know is in there.
Step 25: Spend ten minutes trying to fit various screws into the pull.
Step 26: Find a suitable screw! Attach final pull to holder.
Step 27: Gently tap nails for picture hanger into back of necklace organizer.
Step 28: Split wood bamboo, whatever.
Step 29: Find and consume chocolate.
Step 30: Carefully clamp split back together with tape. Yes. Tape.
Step 31: With power drill and tiny bit, slowly predrill holes for nails.
Step 32: Successfully affix hanger to back.
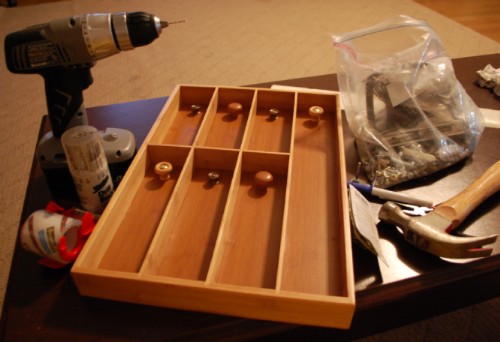
(Please notice it is now night.)
Step 33: Hammer nail into bedroom wall.
Step 34: Hang necklace holder and adorn with jewelry.
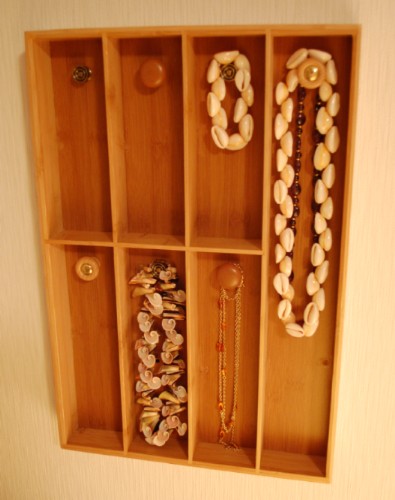
Step 35: Swear off any project involving power tools for at least six months.
…At least it looks nice with all the light wood in my bedroom.

Hahahahaha! I have a ziplock bag like that too! And smart move not putting in the contact paper. Took forever but it was worth it I’d say!
Very cool!
You are your mothers daughter. She would rather have a hammer in her hand than a needle. I’m proud of you. You make beautiful things.
Asweome, i would just love to know where you got your shelf that you used for the project? thanks for the idea!
It looks awesome! Lots of hard work, good thing you can still look at it instead of wanting to hurl it outside.
looks good… i just use a corkboard though