Done with your Thanksgiving turkey? WAIT! Don’t throw out the bones! (Too late? Darn it. I knew I should have posted this yesterday. Keep reading and file this away for next year.)
Did you know that turkey bones make great broth that can be substituted for chicken broth in most recipes? It’s true! It’s not even very hard to make. After the family Thanksgiving dinner, we were left with a stripped carcass. (Yum, right?) Not in the mood to pull out a stock pot and start stirring, I stuck the bones in my largest crock pot – about 7 quarts, which with some persuasion fit the entire remains of a 20 pound turkey – and covered the bones with cold water. I added a tablespoon of apple cider vinegar (it helps start dissolving the bones), covered it, and set it on low overnight.
In the morning, I prepared to can. IMPORTANT: You can NOT can broth in a hot water bath. Why not? Botulism. Broth is low-acid, so botulism can live in it unless you can it with a pressure canner, which kills it. If you do not have a pressure canner, you can put your broth in a freezer safe container and freeze it for six months to a year. Since I was canning, I washed and dried my jars and put my flats in a pot to warm.
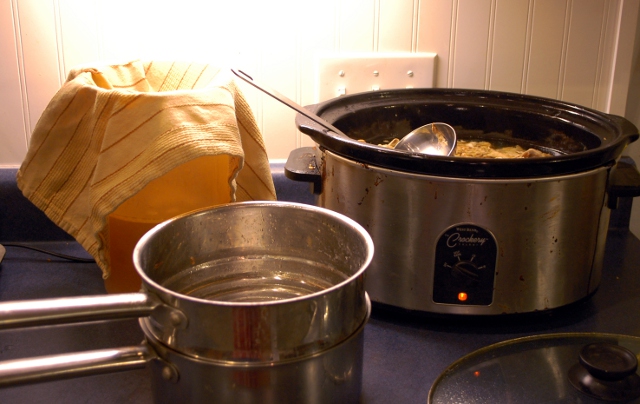
Next, I prepared my stock. I poured it from the crock pot through a colander, and then I poured that through a clean kitchen towel over a pitcher to strain out the fine bits of turkey. Some people choose to refrigerate their stock and remove the fat: I don’t. Pour your broth into clean jars (you need AT LEAST 1″ of headspace, probably more like 1.5″ so that it won’t sputter and spit broth out from under the flat when you take it out…ask me how I know), wipe the rims to be sure no drips will prevent them from sealing, put on the flats and tighten the rims.
Then it’s time to approach the pressure canner. Don’t worry! It’s not that scary. Just follow these simple steps.
0. If this is your first time EVER using this canner, wash the pot, rack, lid, and the gasket seal with warm soapy water. Rinse, dry, reassemble.
1. Place the removable rack in the bottom of the canner.
2. Add hot water. The amount varies by canner – check your directions or (if you don’t have any) go for about 3 inches deep.
3. Place your jars in the canner.
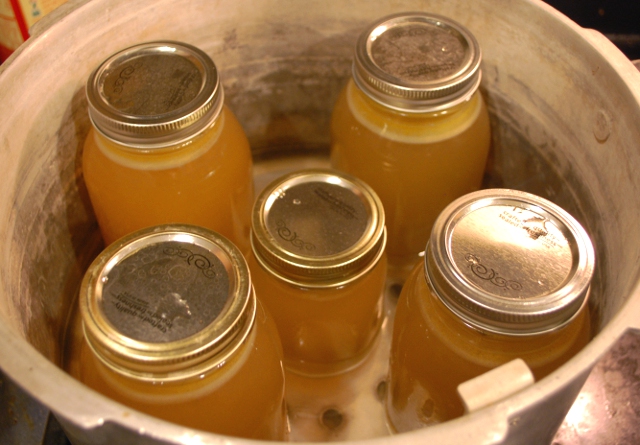
4. Check the vent in your lid (mine is just a metal stem in the middle) for signs of blockage by looking through it to see if you see daylight. If it’s blocked, clean it. Otherwise…
5. Place the lid on your canner; make sure it is sealed according to the directions.
6. Over medium/high heat, heat your canner until there is a steady stream of steam coming from the vent pipe. Let it steam for 10 minutes, adjusting the stove up or down as needed to keep it steady.
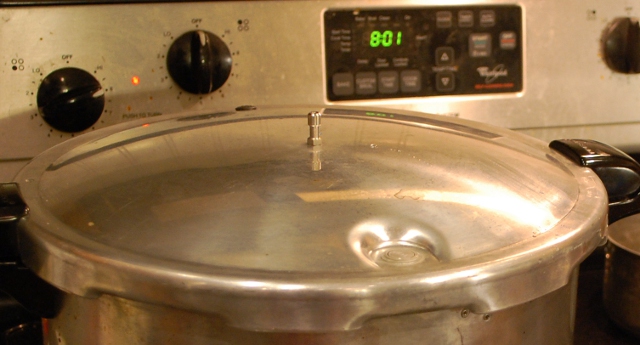
7. Place your pressure regulator, set to 10 pounds of pressure, over the vent pipe. (I covered my hand with a towel because the jet of steam made me nervous.) Turn the heat back up to medium/high until the regulator begins rocking steadily.
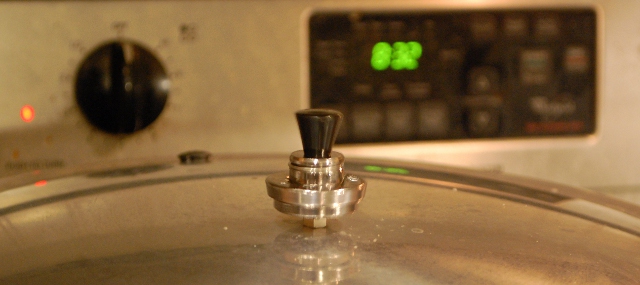
8. Set your timer for 25 minutes for quarts, or 20 minutes for pints. If you have some of both, go for the longer processing time. You may have to turn the heat up or down to keep it rocking steadily, but it wasn’t much of a problem.
9. When time’s up, turn off the burner and remove the pot from heat. I just lifted it slightly and slid it across to the next burner; it started quieting immediately.
10. DON’T OPEN IT. I know, I know, you’ve been at this for an hour and you just want to see the finished product already, but it’s important to let it cool down on its own. Go off and do something else.
…Done?
11. Gently remove the pressure regulator. If any pressure is released when you do, wait some more. If not, you can try opening your canner. Again, if you meet pressure or resistance, wait a little longer. If everything seems okay, you can try using a jar lifter to transfer your jars to a bit of towel on the countertop in a place free of drafts to finish cooling. (My jars boiled inside for hours after I took them out, it was freaky.)
You’re finished! Hurray! Now, another note: you still don’t need to throw those bones out. Just cover them with water again, and set the crockpot back on low for another 12 hours or so. Your broth will get progressively weaker…
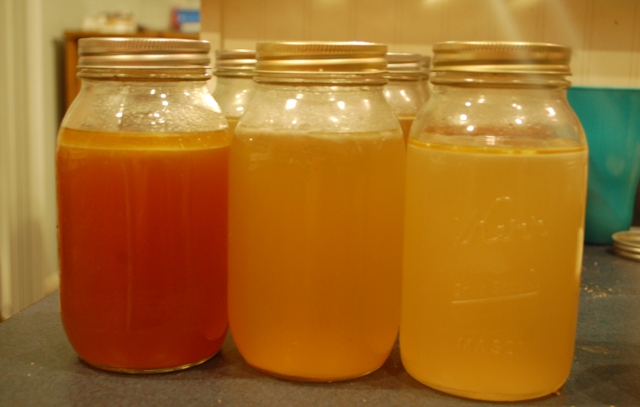
But the broth on the right there, from the third batch, is still richer than broth I buy in a can, so I kept going. The fourth batch was about as strong as a can of commercially prepared broth, so I decided to quit after that. That means that I got over 16 quarts (four GALLONS) of broth from ONE turkey, and it’s all canned and shelf-stable, ready to enrich soups and stews this winter without consuming valuable freezer space. Give it a try!

i do this with chicken too. i don’t have a pressure canner so i freeze it i 2 cup increments. a lot of my slow cooker recipes call for broth..so I just drop a broth cube in there. Of course I lost SO MUCH broth during the hurricane! Sob!
Oh NO! To be honest that’s one reason that I wanted to can this instead of freeze…one, I don’t have a ton of extra freezer space, and two, we’re in a tornado-prone area and may experience power outages several times a year. Since my husband already bought me a pressure canner, I just had to get up the guts to try it.