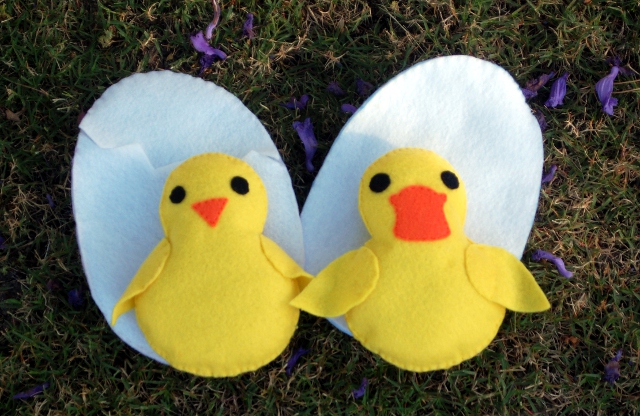
You may have noticed a pair of projects in my Easter basket reveal yesterday that you haven’t seen on the blog. (Surprise! It’s because I haven’t blogged about them yet.)
I am of course referring to the chick and the duckling in eggs.

I wanted to make Tommy and Teddy something similar but different for their baskets – a chick and a duckling, each with their own egg, seemed to fit the bill.

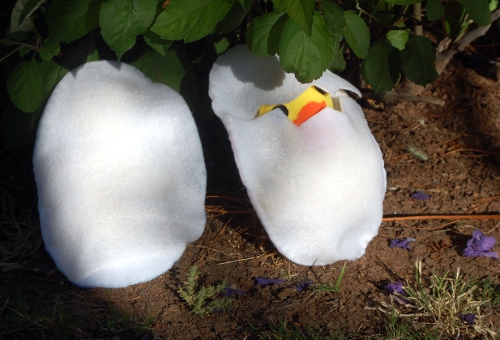
You can see that the eggs are made a bit differently – the first one, I made to open on the side. When I went on Saturday night to make the second egg, the very last piece of sewing to do for Easter baskets the next day, I found that I didn’t have a large enough piece of felt to make two whole egg pieces. Ack! So, I improvised. I cut out the largest piece I could get, with the missing end artfully zig-zagged, and then cut another piece to finish the end and matched up the zigzags. I actually like this way better!
If you’d like to make a little chick or duckling of your own, here’s the pattern (for both)!
You Will Need:
- 1 sheet white felt
- 1 sheet yellow felt
- Scraps of orange and black felt
- Scissors
- Needle and thread in desired colors
- Stuffing or fiberfill
Just click on the pic for a printable pdf.
- Cut out your pieces. (Don’t cut out both a beak and a bill if you’re only making one! Pick whichever you like.)
- Place egg pieces on top of each other, wrong sides together and sew edges around EXCEPT where marked on pattern piece. (OR cut zigzags across one egg piece. Match up with other egg piece and sew all the way around.)
- Sew eyes and beak or bill to one body piece.
- Match up body pieces and sew together around, stuffing as you go.
- Sew wings to body.
Enjoy!


Hee hee! Very cute!
Stephen says you should do a platypus. He’s right!