We went to Lowes looking for some sort of wood polish or finish or something for the little wooden Easter eggs I’m making. I picked up can after can and was repeatedly turned away by words like HARMFUL FUMES. TOXIC. DANGER. Even the food-safe Butcher Block Polish was made with mineral oil. No, thanks!
Fortunately it was easy to find a recipe for a simple, safe polish that I’m pleased to use on my babies’ toys.
All you need is beeswax and olive oil (plus a few tools).

To make it, you need 4 parts olive oil and 1 part beeswax. I found the olive oil in my cupboard and the beeswax in my local Michael’s over with the candlemaking supplies. (I bought the white beeswax because they regular beeswax had a warning that it might include bee bits. They cost the same. I opted for no bee bits.) I only wanted a small batch, so I needed 1/2 cup oil and 2 tablespoons of beeswax.
Put your oil in a microwave-safe container and start grating your beeswax.
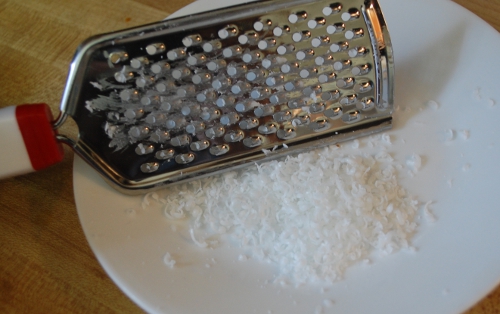
I learned a few things. 1: Beeswax is very hard at room temperature. 2: Next time, I want to use a grater with bigger holes. Finally, 3: You need 2 tablespoons of solid beeswax… a tablespoon of grated beeswax is not the same thing. (I really should have realized.)
Add your beeswax to the oil.
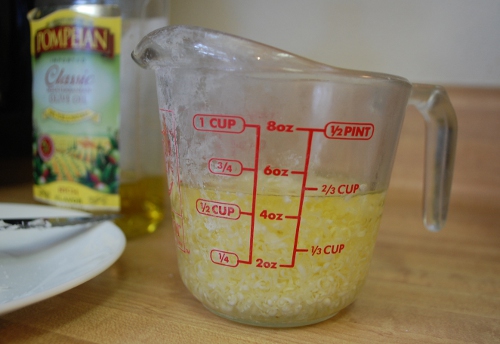
See how it’s displaced 1/8 cup of the oil? (The fact that it hadn’t done that is how I realized that 2 tablespoons of grated beeswax was less than I needed.)
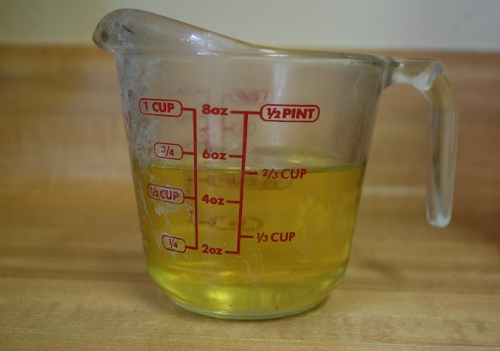
Microwave your mixture until you can’t see your wax anymore. If you’ve grated your beeswax, it will melt very fast. If you got frustrated and started breaking off large chunks and dumping them in without breaking them into small pieces, it will take longer. At any rate, it should look like this soon:
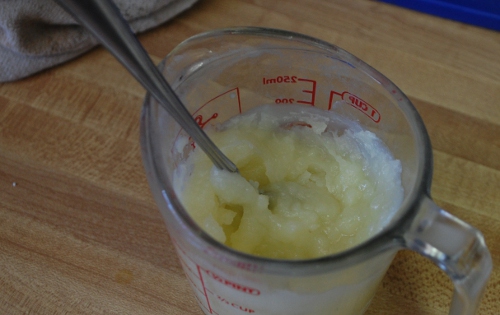
Set it somewhere safe to cool down. Come back every 10-15 minutes or so and give it a stir. You need to scrape along the sides to make sure the beeswax and oil mix together as they cool. One minute it was hot and clear, the next minute it looked like this:
Once your polish is cool, you can rub it into whatever wood you’d like to polish and protect. Let it sit for 15 or 20 minutes, then take a soft cotton cloth and wipe off the excess. I polished my eggs:
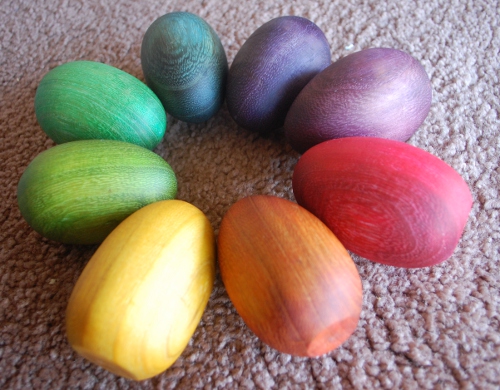
and they are gorgeous. The colors are deeper and richer than they were after their food-coloring bath (it didn’t appear to remove any of the coloring, either) and it smoothed down the wood that felt a little roughed up after being soaked. I’m so pleased with how they turned out!
The polish is really nice for your hands, as well. Once I finished all eight eggs my hands felt really soft and conditioned. I think it would be nice for lips, too. (I’m considering trying a little peppermint oil in it to try for a lip balm.) Most of all, I can’t wait to come up with more woodworking projects now that I’ve got coloring and finishing down!

Nice information and you explain very well how to make beeswax. Its really great and a good wax can finish smoothly the furniture. Thanks for sharing..!!
What did you use to paint them?
Food coloring! Tutorial here.
It has bern a year since your post and I’m wondering, how did these hold up? Did the dye come off on little hands and mouths?
The dye has stayed on VERY well, we had one go through the washing machine and the dye came off, and another one sat in a puddle and where it was in the water the dye soaked off as well. My ruling would be: as long as your child is not going to constantly soak it in slobber, they’ll be fine. If it’s going to be wet, a lot, for a long time, maybe it’s not the best choice.
So if I want to paint a fence… Would it be worth the money and time to use this recipe?
I very much doubt it, I don’t know how weatherproof it would be.
Wow! The colors on those wooden eggs really are beautiful. Thanks for the detailed instructions.
Erin recently posted..The Value of a Teak Wooden Bath Mat
I’m glad you like them!