Adventures in Felt: Toys!

Just a quick note before I begin – I’ve made a fan page for Inner Child Crochet on Facebook! Would you like to be notified of pattern releases and blog posts in your news feed? Just ‘Like’ Inner Child Crochet! Also, there’s a coupon code on the fan page for 40% off your pattern store purchase of $10 or more. So come check it out!

Now that the wooden Easter eggs have been dyed and polished, we’re on to the next phase of our handmade Easter baskets:

Stuffed animals!
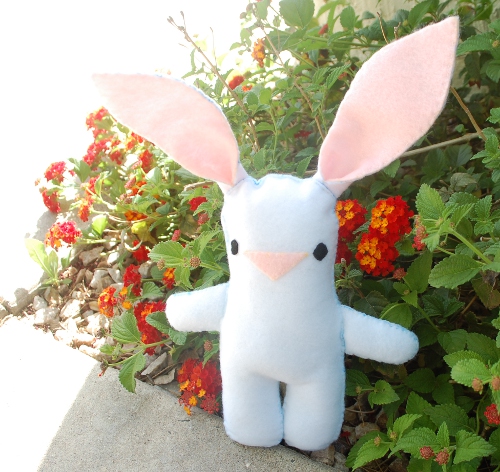
Look at those giant ears!

I’m really pleased with the way that this came out – I haven’t made three-dimensional felt toys before. Although, I suppose that the construction of this bunny was mostly two-dimensional. Still! It’s cute! And the tail is definitely 3D.
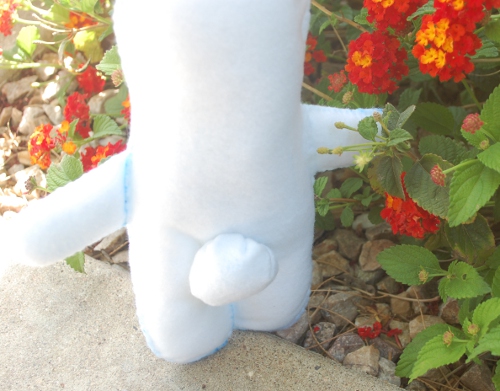
Look at that poofy little tail.

Would you like to make one?

You Will Need:

  • 2 sheets white felt
  • About 1/2 sheet pink felt
  • Scrap of black felt
  • Needle and thread in desired color
  • Scissors
  • Stuffing or fiberfill

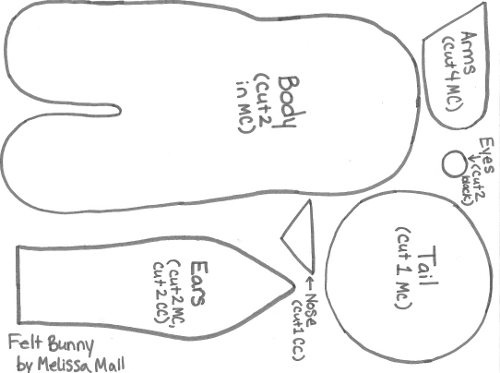
Also, this:

Print it out and there you are!

Click on the pattern for a printable pdf.

1. Cut out your pieces.
2. Take tail and work a loose running stitch all around the circumference. Pull tight to gather into a rough ball shape. Stuff tail, sew closed, and sew onto one body piece in pictured location.
3. Sew eyes and nose to face (of OTHER body piece. This is important).
4. Lay two arm pieces on top of each other (wrong sides together and matched up), sew around entire arm EXCEPT flat end where it will join the body. Stuff arm. Repeat for the second arm.
5. Match up one pink ear piece and one white ear piece, wrong sides together. Starting at base of ear, sew around until you reach the base on the other side. Once there, fold the bottom corner in until it meets the center point of the base. Sew in place, repeat for the other corner. (They should meet in the middle.) Sew edges together in center for about 1″. Repeat for second ear.
6. Match up body pieces, wrong sides together. Sew together around edges, stuffing as you go. Stop and insert arms and ears at appropriate locations; sew into place.

There you have it! I hope you like this little bunny, because I sure do!

Beeswax Wood Polish: It’s Awesome

We went to Lowes looking for some sort of wood polish or finish or something for the little wooden Easter eggs I’m making. I picked up can after can and was repeatedly turned away by words like HARMFUL FUMES. TOXIC. DANGER. Even the food-safe Butcher Block Polish was made with mineral oil. No, thanks!

Fortunately it was easy to find a recipe for a simple, safe polish that I’m pleased to use on my babies’ toys.

All you need is beeswax and olive oil (plus a few tools).

A recipe for AWESOMENESS!

To make it, you need 4 parts olive oil and 1 part beeswax. I found the olive oil in my cupboard and the beeswax in my local Michael’s over with the candlemaking supplies. (I bought the white beeswax because they regular beeswax had a warning that it might include bee bits. They cost the same. I opted for no bee bits.) I only wanted a small batch, so I needed 1/2 cup oil and 2 tablespoons of beeswax.

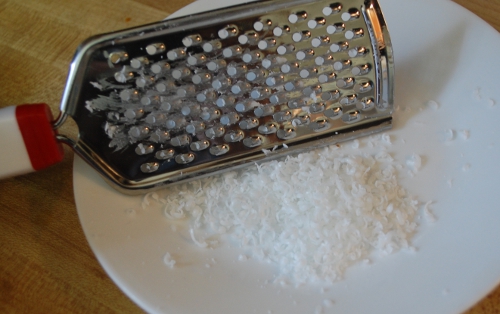
Put your oil in a microwave-safe container and start grating your beeswax.

Beeswax curls!

I learned a few things. 1: Beeswax is very hard at room temperature. 2: Next time, I want to use a grater with bigger holes. Finally, 3: You need 2 tablespoons of solid beeswax… a tablespoon of grated beeswax is not the same thing. (I really should have realized.)

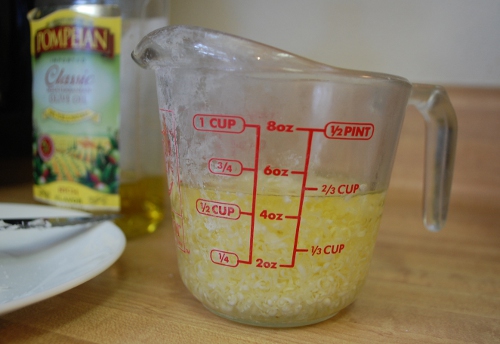
Add your beeswax to the oil.

Nice.

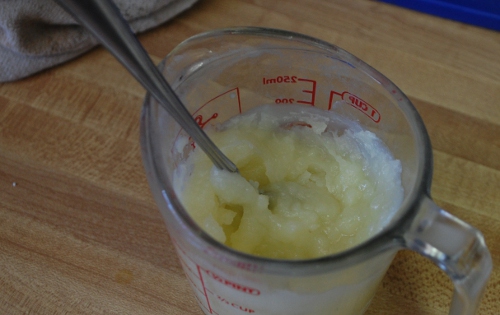
See how it’s displaced 1/8 cup of the oil? (The fact that it hadn’t done that is how I realized that 2 tablespoons of grated beeswax was less than I needed.)

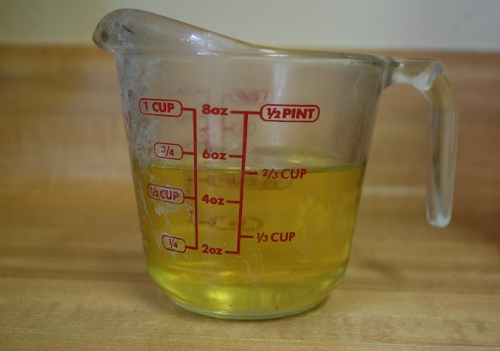
Microwave your mixture until you can’t see your wax anymore. If you’ve grated your beeswax, it will melt very fast. If you got frustrated and started breaking off large chunks and dumping them in without breaking them into small pieces, it will take longer. At any rate, it should look like this soon:

All melted!

Set it somewhere safe to cool down. Come back every 10-15 minutes or so and give it a stir. You need to scrape along the sides to make sure the beeswax and oil mix together as they cool. One minute it was hot and clear, the next minute it looked like this:

Almost done!

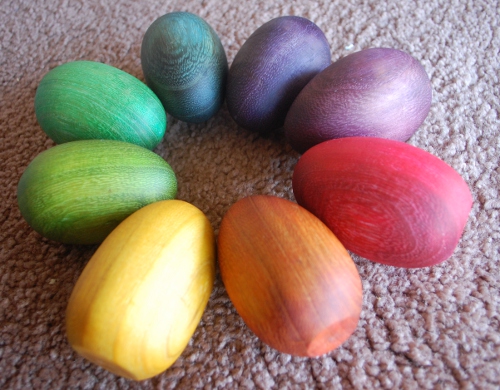
Once your polish is cool, you can rub it into whatever wood you’d like to polish and protect. Let it sit for 15 or 20 minutes, then take a soft cotton cloth and wipe off the excess. I polished my eggs:

AWESOME I tell you!

and they are gorgeous. The colors are deeper and richer than they were after their food-coloring bath (it didn’t appear to remove any of the coloring, either) and it smoothed down the wood that felt a little roughed up after being soaked. I’m so pleased with how they turned out!

The polish is really nice for your hands, as well. Once I finished all eight eggs my hands felt really soft and conditioned. I think it would be nice for lips, too. (I’m considering trying a little peppermint oil in it to try for a lip balm.) Most of all, I can’t wait to come up with more woodworking projects now that I’ve got coloring and finishing down!

Crochet Easter Roundup

Is anyone else trying to make the gifts for their kids Easter baskets this year?

Anyone?

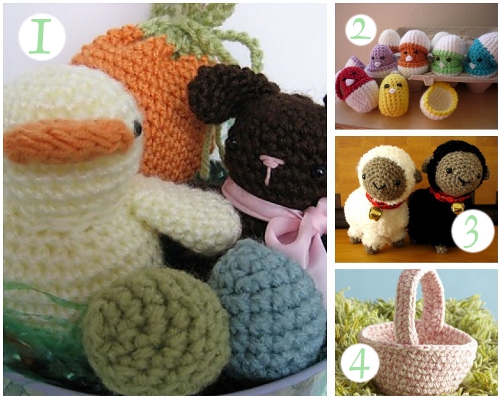
Well, if you are, here’s a beautiful batch of Easter-themed crochet patterns to get you going!

Duckies and bunnies and lambs, oh my!

1. Easter Amigurumi Pattern Set by Amy Gaines 2. Baby Chicks in Eggshell by Lani Herschensohn 3. Little Lambkins by Stephanie Martin 4. Easter Basket by Lion Brand Yarn

I wonder if those little chicks would fit into a plastic Easter egg? That would be cute, wouldn’t it?

Lots of bunnies in this batch!

5. Tiny Striped Eggs by Julie Kundhi 6. Fuzzy Bunny & Chick by June Gilbank 7. Bunny Cakes by Susan Morishita 8. Easter Marshmallow Bunnies by Doni Speigle

Those are some of the cutest crocheted Peeps I’ve seen around, and they get done a lot!

How about it? Are you making anything for your kids?