Stuffed animals are one of my favorite things to crochet! If you like to make them, too, here’s a list just for you!
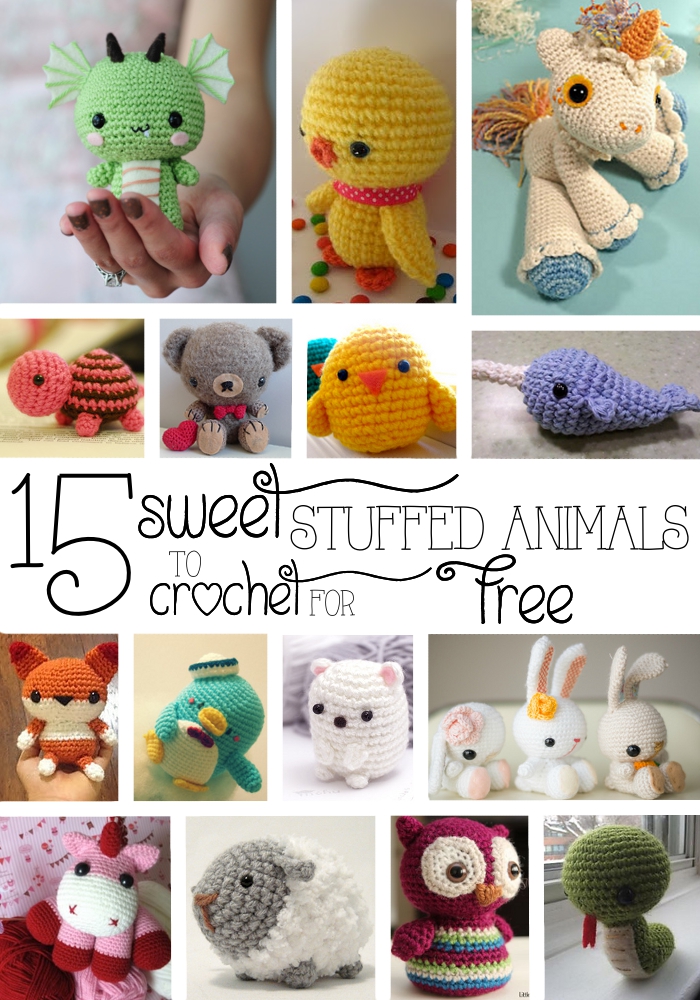
Stuffed animals are one of my favorite things to crochet! If you like to make them, too, here’s a list just for you!

My mother had an old pork rind container that she was getting rid of, and she asked me if I would like it.
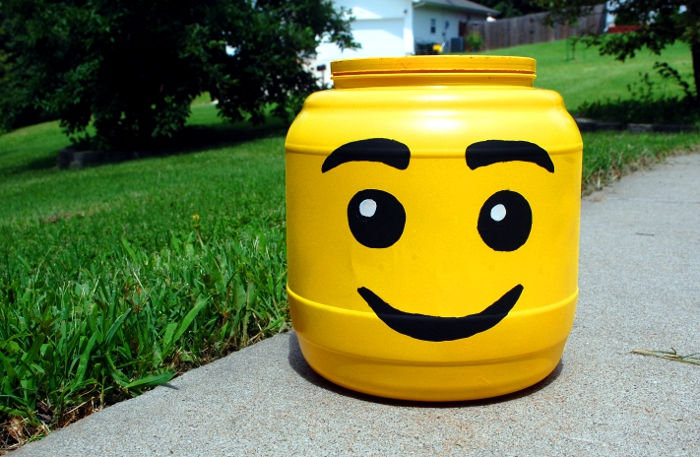
Would I? Oh yes, I would. I’ve seen lego head containers floating around on Pinterest and I knew the boys would love one! I made it, and you can, too.

You Will Need:
Step one: remove the label.
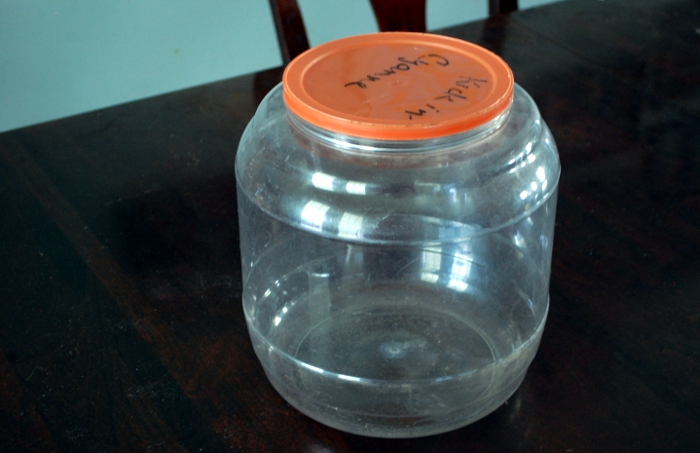
There are a lot of ways to remove stickers from plastic; I just soaked a washcloth and let it rest on the label until it could be scraped off, then spent a little time scrubbing off the residue. Voilà !
Step two: spray paint!
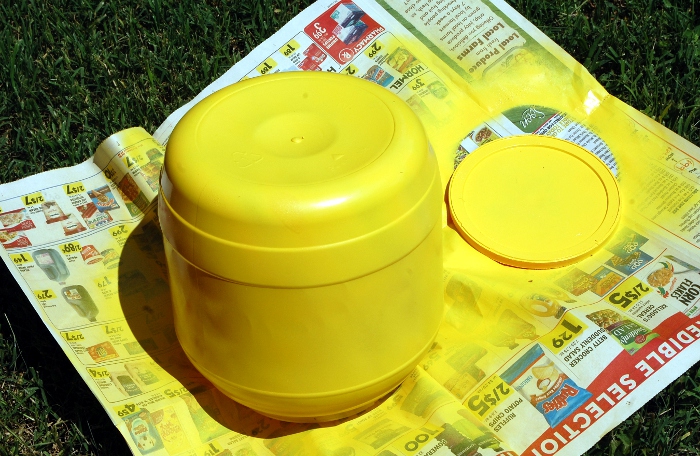
Multiple thin coats cover and stick better than one heavy coat. Be sure to get the whole surface, allowing it to dry well in between.
Step three: add the face!
I lightly penciled the outline of the features onto the container before painting them in. Allow to dry thoroughly between colors, and dry completely before proceeding to –
Step four: spray!
Coat with clear spray to protect the paint from chipping off. Let dry completely before surrendering it to the children! See how easy that was?
After all the fun looking up sun hats this week, I couldn’t resist making one for Ivy.

Come on. Would you be able to resist?
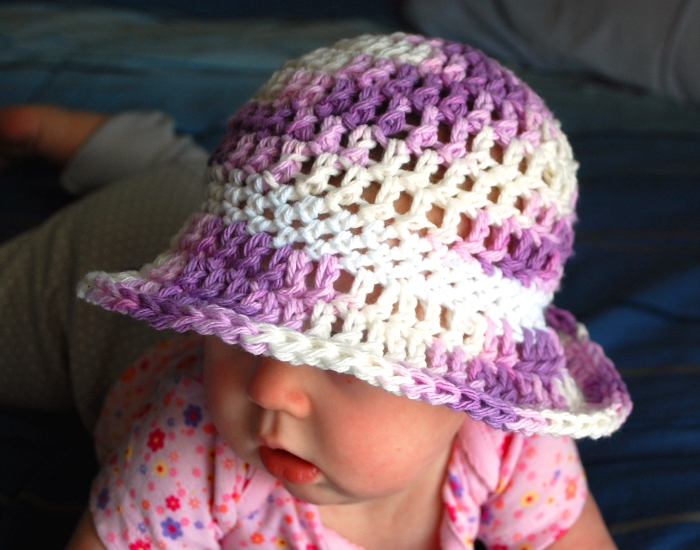
It’s nice and loose, which makes it fast and airy, but the brim still sticks out nicely. Would you like to make one, too?
Size: 16″ circumference, to fit 6-12 month old.
Gauge: 12 sts x 6 rows = 4″ in dc
Materials
Directions
Rnd 1: With MC, make a magic ring, ch 2. Make 12 dc in ring, pull tight to close. Join rnd.
Rnd 2: Ch 2. Make 2 dc in each dc around. (24 dc) Join rnd.
Rnd 3: Ch 2. *Dc in next dc, make 2 dc in next dc. Repeat from * around. (36 dc) Join rnd.
Rnds 4-7: Ch 2, dc in each dc around, join rnd.
Switch to CC.
Rnds 8-10: Ch 1, sc in each st around. Join rnd.
Switch to MC.
Rnd 9: Ch 2. *Dc in each of the next 2 sts, make 2 dc in next st. Repeat from * around. (48 dc) Join rnd.
Rnd 10: Ch 2. *Dc in each of the next 3 sts, make 2 dc in next st. Repeat from * around. (60 dc) Join rnd.
Rnd 11: Ch 2. *Dc in each of the next 4 sts, make 2 dc in next st. Repeat from * around. (72 dc) Join rnd.
Finish off, weave in ends.
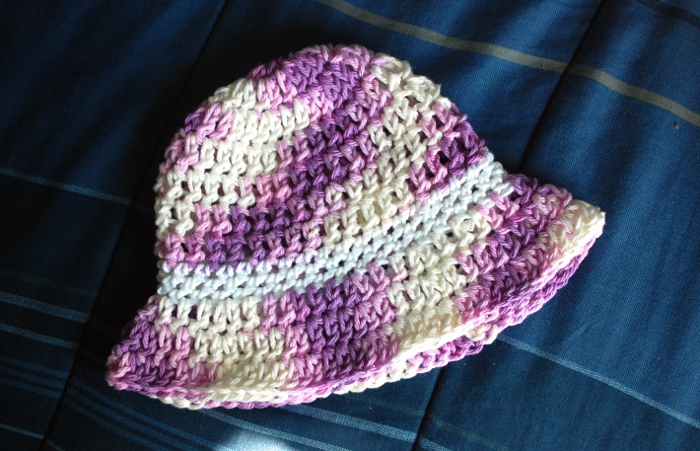
Hooray for summer!