
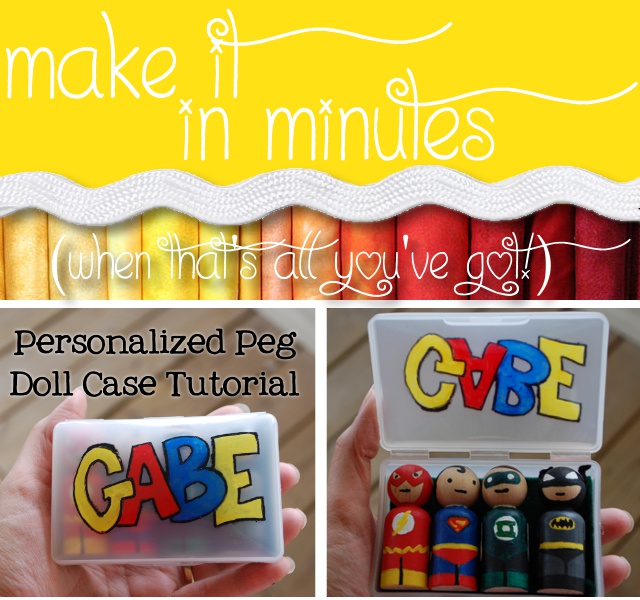
This morning I pondered how to package the boys’ peg dolls for best effect. Just wrapping them up didn’t seem right. I could make little paper boxes to put them in, but those would get tossed or lost soon afterwards. As I was walking through the toiletries aisle at Walmart, looking for shampoo, I accidentally stumbled upon the perfect little peg doll case: a soap holder.
Estimated Time Required: 20 minutes*
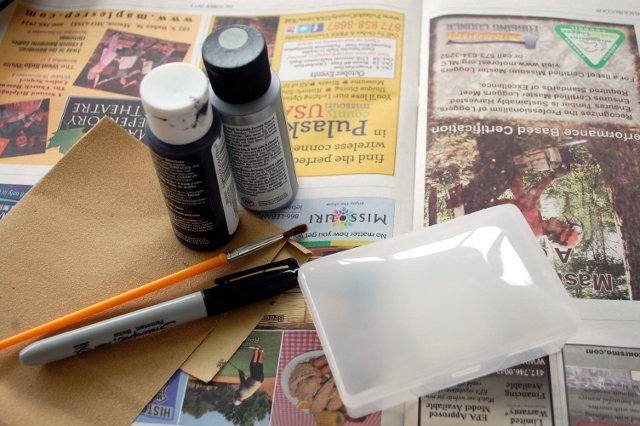
You Will Need:
- Soap Holder
- Sandpaper
- Acrylic Paint
- Paint Pen (optional)
- Paintbrush
- Sharpie
- Scrap felt
- Glue Gun
- Clear acrylic sealer
You might have noticed that a lot of these materials were used in the making of the peg dolls themselves. Convenient, right?
Step One: lightly sand the top of your soap holder wherever you plan to paint. The hard, slick plastic will not paint well otherwise. Try to be gentle – you don’t want to leave big scratches – but if your plastic is smooth and shiny there’s not much for the paint to adhere to.
If you’re trying to do this as fast as possible, now is a good time to plug in the glue gun so it can heat up.
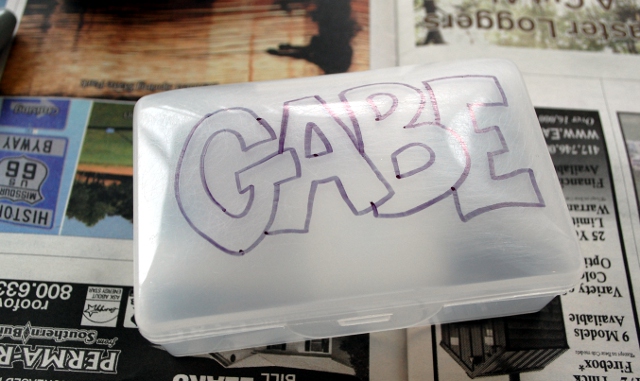
Step Two: Outline your design on top with the Sharpie. This is not going to come off, so be sure that it’s somewhere you would like lines on the finished design.
Step Three: One color at a time, paint in your design. Allow to dry before moving on to your next color unless you want them mixing. (Using three different colors really ate into my time.)
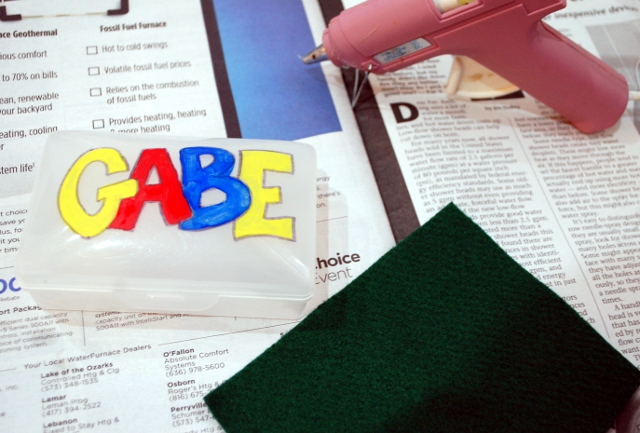
Step Four: Cut a piece of felt twice as big as the inside bottom of your case (so that when it’s folded in half it fits into the bottom. Using glue gun, attach to inside of soap holder and then fold over and glue in place.

Step Five: Outline the letters on the top. I used a black paint pen for this step, since I bought one to do some of the details on the peg dolls. It’s much darker and nicer on the plastic than the Sharpie, but you have to be careful not to scrape your dry paint off with the felt tip.
Once that is dry, take your box outside and spray with acrylic sealer. You’re done!*
*I went back 15 minutes later and added another coat, and I may add a third. Plastic and acrylic paint only play together reluctantly, so I’m trying to fix it in place as securely as possible.
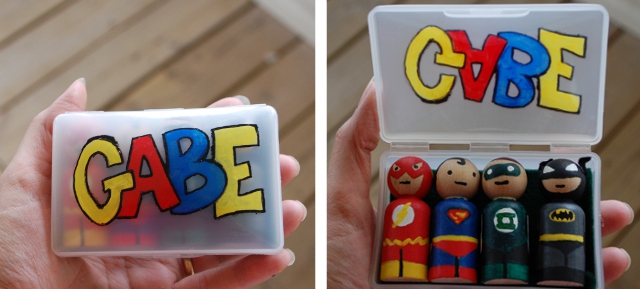
The soap holder I found holds four of the 2 3/8″ peg dolls securely, so since each of the boys are only getting two for their birthday, there’s room for more! Sweet! (Can you say Christmas?)