I love wooden toys. Love them. I think that natural wood looks just gorgeous, but sometimes, you want something with some color! Adding colors can add more worries about safety and durability, though. Will the paint I use be dangerous to my toddlers (who still lick and chew on things that interest them)? How do I make sure it won’t chip off? How do I seal it?
Imagine my pleasure, then, when I came across a website that described how to stain your wood with food coloring. Food coloring is perfectly safe for my little guys, and a stain won’t chip, flake, or peel off. Plus, instead of a thick layer of paint over it, you can still see the texture and grain of the wood underneath. And, lest you doubt, I can tell you it yields vibrant colors.
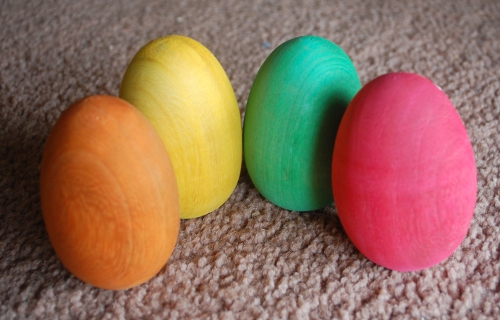
So, all you need is your wooden toy – the paler the wood, the better – sanded smooth, some food coloring, a paintbrush, and some napkins or newspaper or something to keep the dye off your counter.
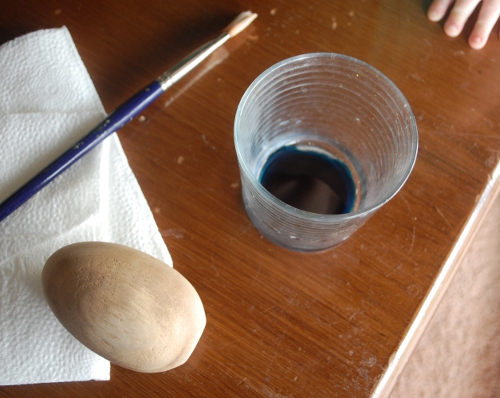
Helpful toddler optional.
Dilute your food coloring about 5 or 6 parts water to 1 part coloring. I just used a tiny splash of water and maybe 4 or 5 drops of food coloring for each egg. Then, start painting the color on.
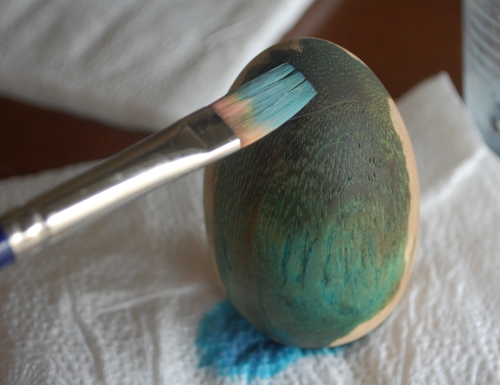
I guess painting isn’t really the right term: you need to keep the surface of the wood wet because it’s going to get soaked in. I just constantly reapplied the diluted dye, all over the surface, until I used up my little teaspoon-full.
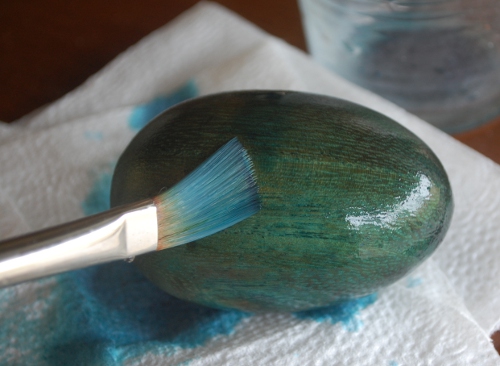
Check and make sure the color is applied evenly: some parts of the wood are going to take more dye to color than others. (Don’t forget, though: it will be darker when it is wet than when it is completely dry.) I had this one section on the red egg that just would not accept the dye, so I put two drops of food coloring directly on it and that finally did it.
Let your toy dry a good long time – overnight is best – and gently wipe the surface to remove any color that’s sitting on top of the wood instead of soaked into it.
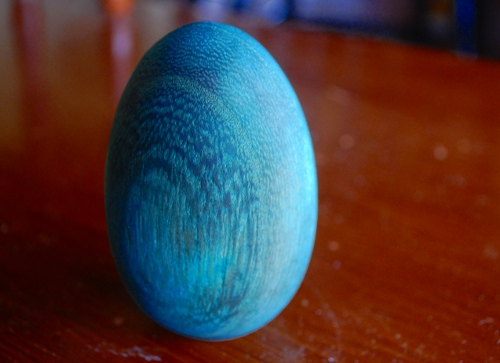
There you have it! Now, these are not finished and sealed yet – that adventure is for another day.

