Pincushion Necklace – from a Thimble!

Did you see this adorable thimble necklace tutorial? I think it’s very creative but I wondered – why glue the pins in? Couldn’t you just make it a tiny pincushion?

It turns out, you can.
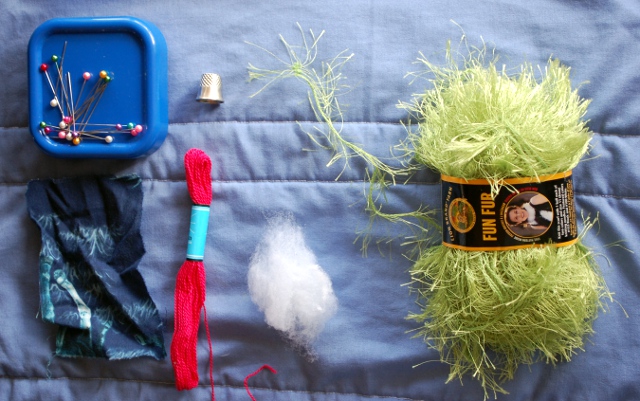
Supplies!

You will need:

  • a thimble
  • some cotton thread (or something else to string it on)
  • a scrap of fabric
  • a needle and thread
  • a pinch of stuffing
  • a bit of green fun fur (left over from this?)
  • some pretty straight pins
  • a drill with a tiny bit
  • a glue gun

Drill, baby, drill!

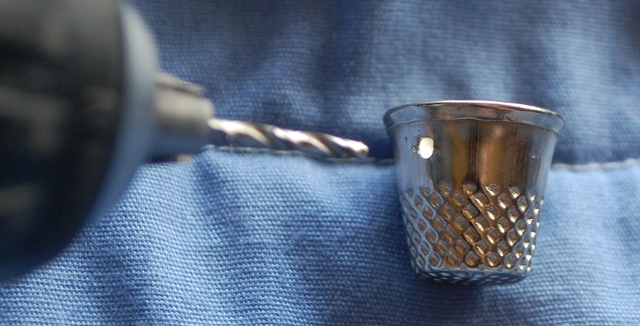
First, drill a little hole in your thimble. (This was by far the hardest part of this project. Try not to drill into your fingers!! Also – I tried first to make the hole with a hammer and a nail, and I do NOT recommend it.)
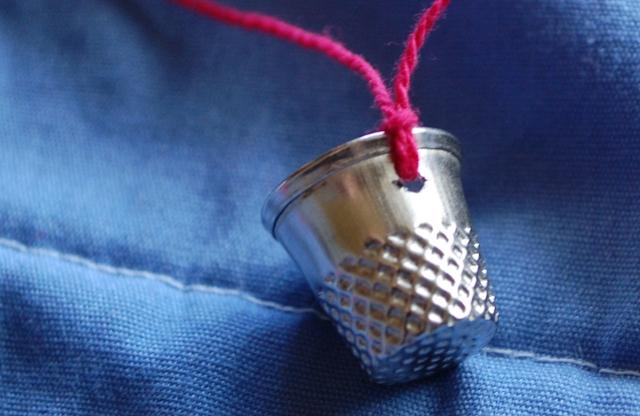
And now we have a necklace.

Tie your thread through and around the hole.
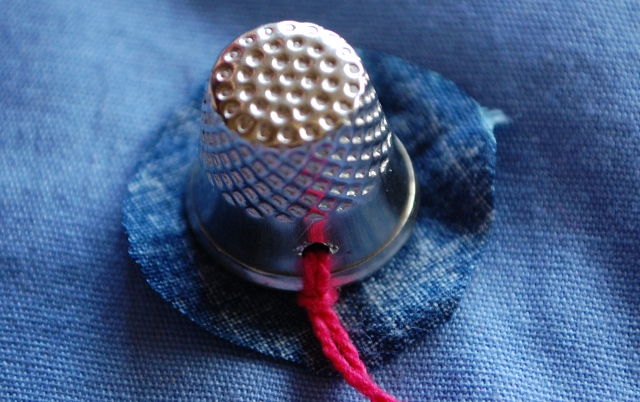
Just a scrap.

Cut a teeny, tiny, roughly circular scrap of fabric. It needs to be a bit bigger around than your thimble.
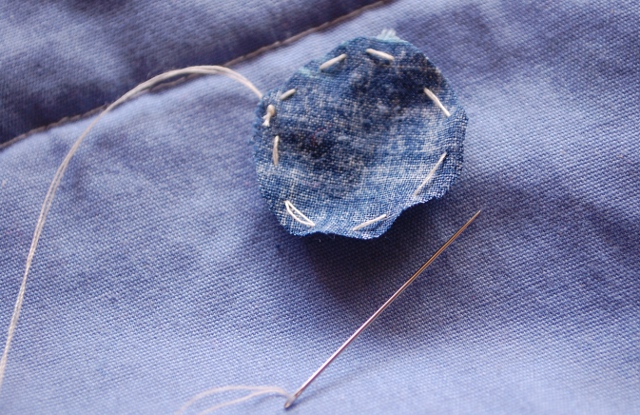
What tidy stitches!

Then, with your needle and thread, make big, sloppy running stitches all around.
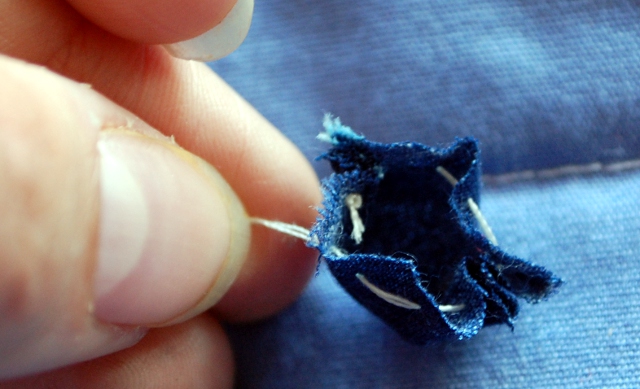
You won't even see this part.

Pull. Poke a bit of stuffing into the tiny, tiny pocket you’ve just made. Mine stuck out the bottom a bit, so I just went over it with the needle and thread a few times to keep it in place. You won’t see this part in the finished necklace, so it doesn’t have to be perfect.
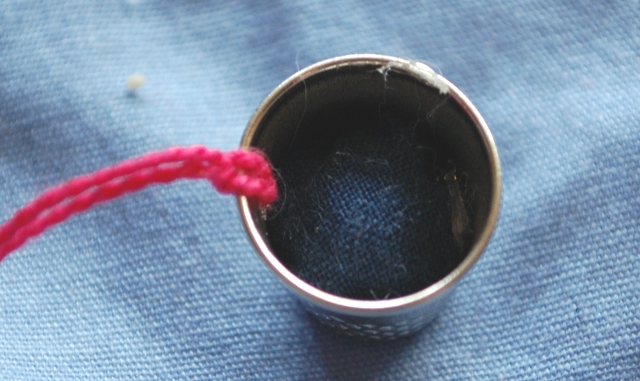
Just smoosh it in with some glue!

Stick a dab of glue in the bottom of your thimble and press your little pincushion into it.

Mow that lawn!

Make a little coil of fun fur, put a dab of glue on top of the pincushion, and press the fun fur into it. Then, give the “grass” a trim.
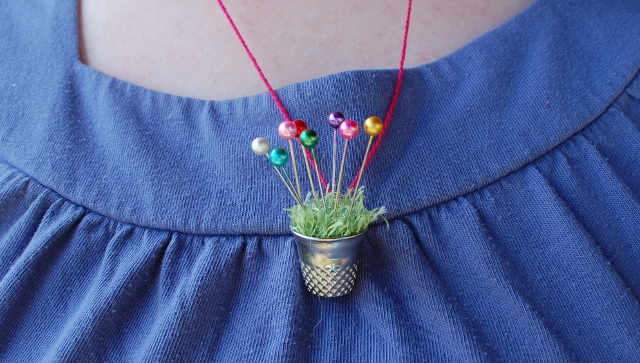
Ta-da!

To finish, stick your pins in! You will have to go through the layer of glue holding the grass in, but that just makes it hold the pins more firmly. I love it!

Overnight Baked French Toast

I love breakfast food. I just…hate cooking it at breakfast time. When I get up in the morning, I’d much rather pour a bowl of cereal and stumble bleary-eyed out to the table than start scrambling eggs. However, everyone in my family really appreciates special breakfasts, so I’ve started looking for recipes where the bulk of the preparation can be done ahead of time. (The night before is great; I get a second wind once the kids are all in bed.) Yesterday I stumbled across Grocery Shrink’s Overnight French Toast Casserole and I wanted to try it immediately.

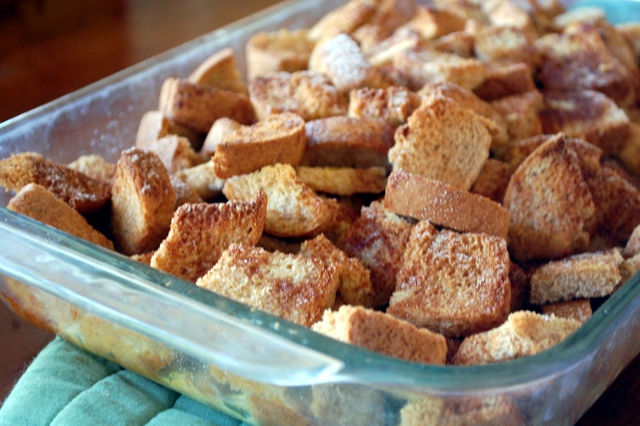
Mmm, breakfast!

And for good reason. French toast is a great simple staple and as long as you have bread, milk, and eggs it’s easy to throw together. However, when hungry kids are waiting for breakfast all the dipping, flipping, and standing by the griddle gets tiresome, especially when you have to decide between feeding kids as soon as food is ready (so you sit down alone with the last two slices) or making them wait until all of it is ready (which, if they are like my kids, means they will be begging the whole time and the first slices will be cold).

With this version, you can just turn on the oven and sneak it in there before the kids even realize that you’re cooking – which means that by the time they start to say “Mommy, I’m hungry!” you can tell them it’ll be ready any minute. Want to make some?

Overnight Baked French Toast

Ingredients:

  • 1 loaf day old bread (This makes it easier to cut. If your bread is too fresh you can just sit it out onto your cutting board for 30-60 minutes.)
  • 6 eggs
  • 3 cups milk
  • 1 tbsp sugar
  • 1/2 tsp salt
  • 1 tsp vanilla
  • 2 tbsp butter (for the morning)
  • 1 tbsp sugar + 1 tsp cinnamon (for the morning)

Directions:

  1. Cut bread into squares. (I cut each slice into 9 pieces. This made a good sized chunk and minimized chopping.)
  2. Mix eggs, milk, sugar, salt, and vanilla together in large bowl.
  3. Stir bread into egg mixture; cover and refrigerate till morning.*
  4. Preheat oven to 350 degrees.
  5. Spray 9×13″ pan and fill with bread and egg mixture.
  6. Chop butter into small pieces and sprinkle across top; sprinkle cinnamon and sugar mixture across top.
  7. Bake for 45 minutes, serve with syrup.

*Grocery Shrink’s recipe has you mix it and refrigerate it in the pan…I did that and mine turned out crunchy on top and soggy on the bottom. I didn’t think to stir it up, but I think that refrigerating it in the bowl and then dumping it into the pan will have the wetter pieces on the top and the drier pieces on the bottom, which would allow it to cook more evenly. Even crunchy/soggy, this turned out good enough I’m willing to try it again!

Etsy Diving: Mother’s Day

Hey! Did you know that Mother’s Day is this weekend? What shall we get for Mom?

This mother's day, say it with rocks!

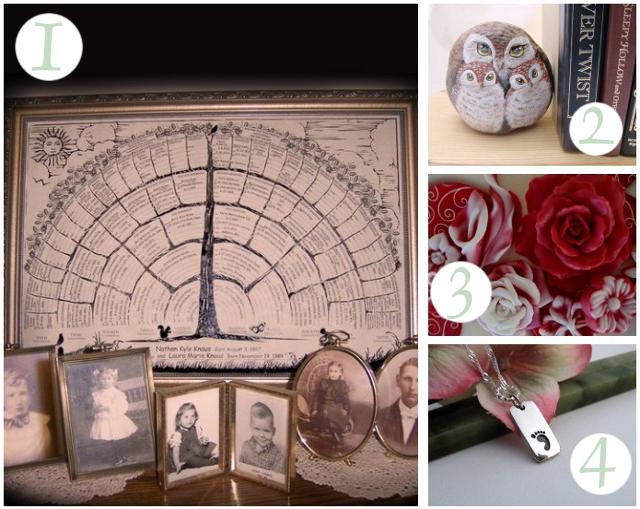
1. Family Tree Chart Poster by  FreshRetroGallery 2. Mother Owl Painted Rock Bookend by carriveau 3. Flower Soap Gift Set by BUBBLECITYSOAP 4. Sterling Silver Little Footprint Necklace by ArtInspiredGifts

I’m really impressed by the way the family tree was set up – there’s room for six generations and it’s an artistically refreshing change from a typical pedigree chart.

Check out those porcelain eggs!

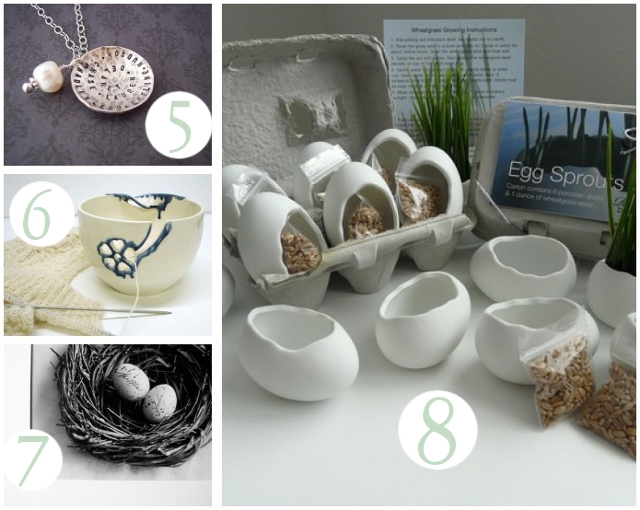
5. Hand Stamped Sterling Silver Name Necklace with Pearl by sayanythingjewelry 6. Handmade Flower Yarn Bowl by blueroompottery 7. Personalized Bird’s Nest 8×10 by inspiredartprints 8. Set of 6 Egg Sprouts by Revisions

I wanted to feature the name necklace because it was one of the only designs I found that accommodated more than three children without purchasing extra pieces. Also – am I the only one who’s never heard of yarn bowls before?! Etsy was crawling with them (surprising, as bowls rarely crawl) and I think they’re pretty cool! Especially this one, but this one and this one are also quite nice.

I don’t think you can see the bird’s nest photo very well in the mosaic, but I think that is a really neat idea and it’s just possible that I might try to stage my own…