How to Make a Cardboard Puppet Theater

You thought I was kidding about the puppet theater, didn’t you?

So a pirate, a moose, and a mushroom walk into a bar...

(Can you identify all the puppets?)

How do you like that bruise on Charlie’s forehead, by the way? We went to a splash pad with some friends the other day, and Charlie and his buddy both decided that it only made sense to run through the water jets with their eyes closed. Yup. Crash!

So, we took a little cardboard box and taped the flaps open to give it a little more height.

Greg hates it when I use that tape.

Then, I cut a vaguely curtain-y shape out of the front of the box with a knife.
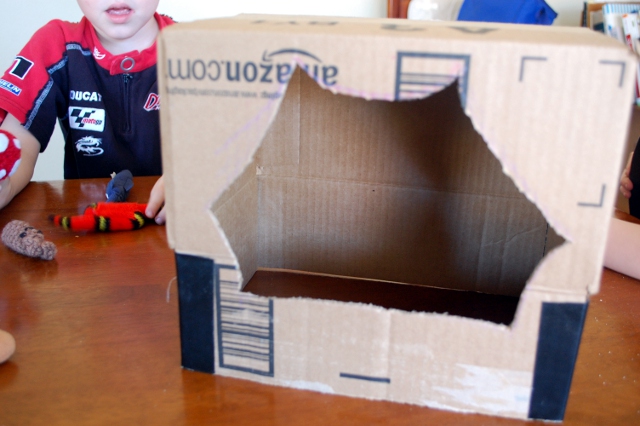
Riveting.

Next, I cut an arch out of the back so little hands can slide in between the box and the table.
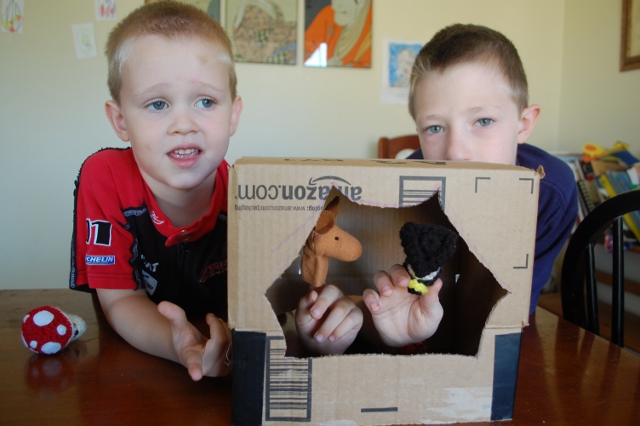
It works, is what I'm saying.

Now comes the fun part: DECORATING! We put construction paper on the top and the sides, and I made a little banner to go across the bottom as well as some “curtains” to complete the front. (TIP: I used my cut-out piece of cardboard to trace the shape of the curtains onto my paper.)
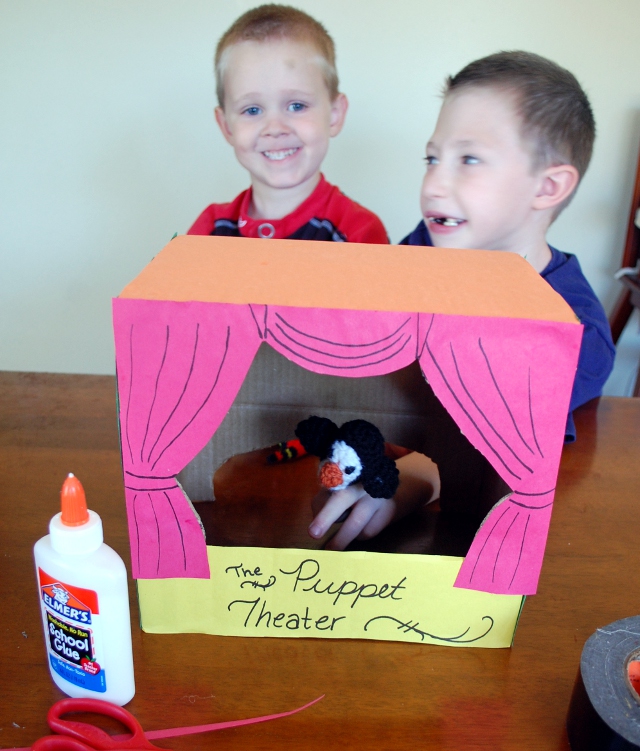
What the...what is that face?!

I cannot explain the face Charlie is making in this picture…or why it makes me laugh. So. Hard.

So there you have it! A little puppet theater made with only stuff I had laying around the house. The boys like it so much that they played with it last night when the babysitter was here – not such a big deal unless you realize that on babysitter nights they’re allowed to play video games the whole time, and they spent (quoting the sitter, here) “a really long time” playing with this instead.

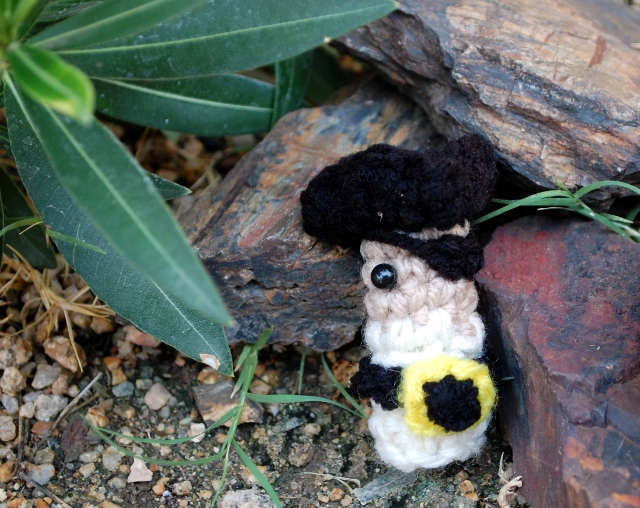
For….I am a Pirate King!

If you’re not familiar with the song, you should really watch this.

I was singing this song all morning. And do you know why?

Hurrah for the Pirate King!

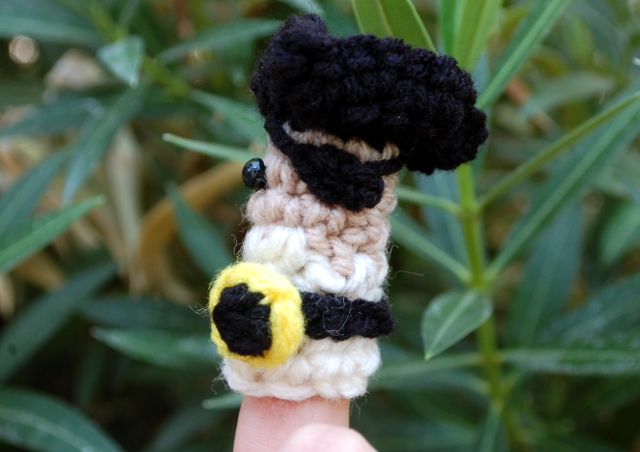
I was originally not planning on giving him an eye patch, but once Charlie figured out that I was making a pirate he ran over, all excited, and asked to see his face. When he turned the little buccaneer over, his face fell.

“Mommy, he doesn’t have a patch. He’s supposed to have a patch on his eye.”

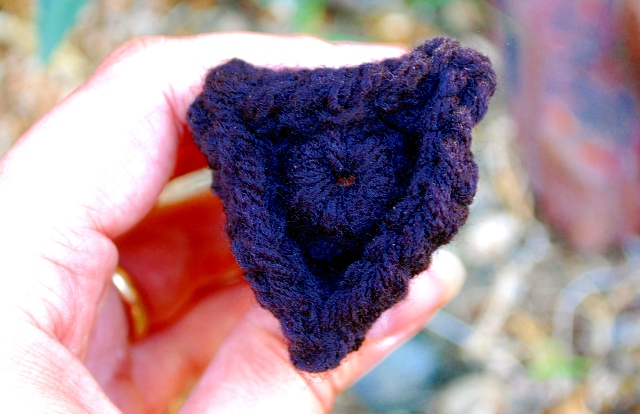
Fortunately a patch was easily added. And I have to give him credit, I think it looks better this way. My favorite detail, though, is the little tricorne hat.

My hat, it has 3 corners...wait, wrong song.

Did you know a three-cornered hat is just a hat with a very wide circular brim tucked up into a triangle? It’s very easy to make.

Speaking of easy to make, how about a pattern?

Pirate King Finger Puppet

Materials:

  • Worsted weight yarn, small amount black, tan, cream, and yellow
  • H/8 (5.00mm) hook
  • Yarn needle
  • 1 – 1/8″ (5mm) black shank button
  • Needle and Thread

Gauge: Precise gauge is not crucial for this project. Make sure that the stitches create a firm fabric and that the body will fit over your finger.

Directions:

Body (note: for easier finishing, weave in ends as you go)

Rnd 1: With black, ch 2. Make 8 sc in 2nd ch from hook. (8 sc) Join rnd.

Rnd 2: Ch 1; sc in each sc around. (8 sc) Join rnd.

Rnd 3: Switch to tan, finish off black. Ch 1; sc in each sc around. (8 sc) Join rnd.

Rnds 4-5: Ch 1; sc in each sc around. (8 sc) Join rnd.

Rnd 6: Switch to cream, finish off tan. Ch 1; sc in each sc around. (8 sc) Join rnd.

Rnd 7-9: Ch 1; sc in each sc around. (8 sc) Join rnd.

Finish off, weave in ends.

Hat:

Rnd 1: With black, ch 8. Join with a sl st in 1st ch to form a ring. Ch 1; sc inc in each st around. (16 sc) Join rnd.

Rnd 2: Ch 1. (Sc in next st, sc inc in next st) around. (24 sc) Join rnd, finish off.

Belt: With black, ch 12 and finish off, leaving a tail of yarn about 8 inches long.

Buckle: With yellow, ch 2. Make 6 sc in 2nd ch from hook. Join rnd, finish off.

Patch: With black, ch 2. Make 1 sc in 2nd ch from hook, finish off (leaving at least 8 inches of yarn on the end).

It is, it is, a GLORIOUS thing!

To Assemble:

1. Insert the top of the body through the hole in the middle of the hat. Sew the hat to the body. Sew the hat into tricorne shape (or, if you like your pirate hats bicorne style, you can do that here too).
2. Sew the belt around the body, then sew the buckle in place. Using your extra black yarn, embroider the center of the buckle.
3. Sew the patch to the face. Use your excess yarn to embroider the ‘straps’ that hold it on.
4. Sew the button in place for your pirate’s second eye.
5. Commence singing Gilbert and Sullivan immediately.

It’s Birthday Chain Day!

Today we’re making a paper chain to Max’s birthday! (We make paper chains for everything around here.)

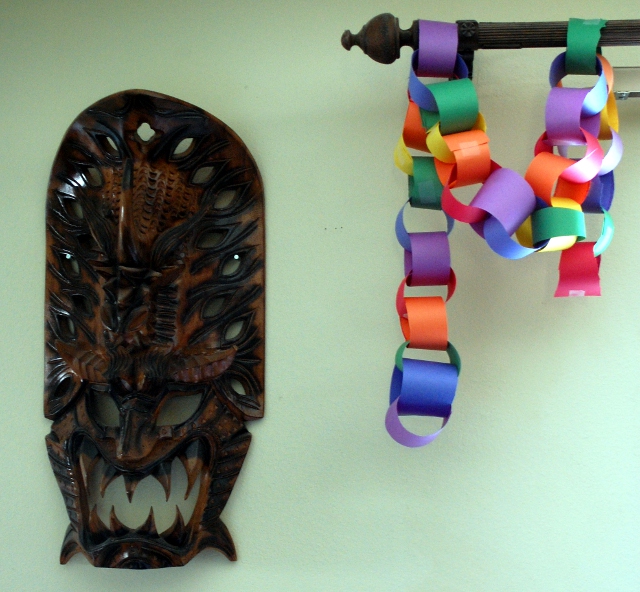
Nothing says birthdays like a Phillipine Eagle mask!

Not because I have a deep and abiding love of brightly colored paper chains (although, I suppose I do). But because Max’s birthday is in a month and he has asked me almost every single day for a week if it’s almost his birthday. The chain is a visible, measurable representation of the time left. If the chain is long, there’s a long time left. As it gets shorter, he knows it’s getting closer. And if there’s even a single link left, he knows that it’s not his birthday yet.

In the past we haven’t done too much in the way of cool birthday parties. (Although last year I made Max an awesome cake, and when he turned two – right before Charlie was born – we threw him an all-out party and I made him what is possibly the coolest cake ever). But for once I’m not preparing for a move, or pregnant with twins, or dealing with a deployment, so Greg and I looked at each other and said – “Hey, do you wanna throw a party?”

I started feeling the topic out with Max. After a few crazy ideas (including but not limited to a “MotoGP Lego Car Factory” party) we settled on an Agent P party. (Yes, he’s still obsessed with Perry the Platypus.)

I’m really warming to the challenge. There’s not a lot of pre-made “Perry the Platypus” themed party supplies out there. (Plus, you know that buying a “theme package” is not my style at all!) I’ve been brainstorming for two days, and so far I have a few ideas.

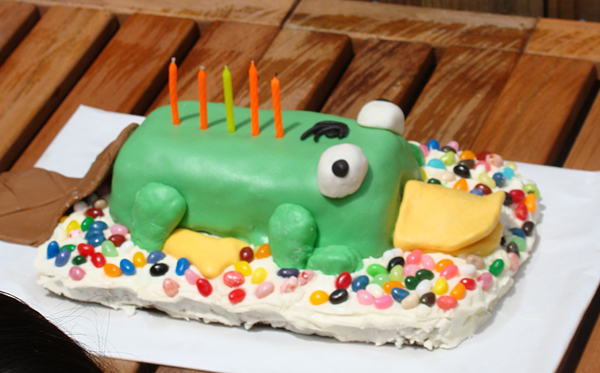
First of all, there will be a Perry the Platypus cake. OBVIOUSLY.

Hey, where's Perry?

(Perry the Platypus cake tutorial via Dabbled)

Although I think I’ll make mine a bit differently. Cute, right?!

Now, Perry’s no fun without Dr. Doofenshmirtz to defeat, so we’re going to incorporate a lot of his wacky “-inators” into the party. Like for instance, we’re going to decorate our water cooler with a spigot to be a “Drink Dispensinator” and I think we’re going to pass out water guns to be “Water Spray-inators.” Also, I’m planning on making a paper bag piñata.

Spiderman, spiderman!

(Paper Bag Pinata via Infarrantly Creative)

I’m going to make it another “-inator,” maybe a Toy-Away-inator – I’m not sure. The kids will have to “defeat it” to save the day, and of course inside will be some toys and party favors. (We’re trying to make this a low-candy party.)

When we were at Michael’s the other day, I saw some brown foam fedoras that would make perfect secret agent hats.

Secret Agents!

They’re $4 apiece online (and I think that’s how much they were in Michael’s, too) but at least in Michael’s I can use coupons to get that number lower. We’re only having a few kids over, and I think that secret agent hats are the one thing I really do want to buy for the kids.


If I can find some nice big pieces of cardboard I’m going to make photo props (where you stick your face through for pictures) of Perry and Doofenshmirtz and maybe some other characters like Peter the Panda and Major Monogram.

The other thing I know for sure I want to make is a balloon banner.

Balloons all over!

(Balloon Banner DIY via Design Mom)

I’m thinking turquoise and orange, like Perry. This is going to be fun!