Just Peachy

Apparently it’s peach season.

Unlike strawberries, or squash, or tomatoes, or cantaloupe, or asparagus, or potatoes, or pumpkin, or even apples – which I vividly remember planting and weeding and picking as a child – I never had much to do with peaches. So when I wandered into the produce section at the grocery store last week I was surprised to find a great big prominent endcap display of the things, priced cheap. They were so cheap that I felt, a little guiltily, that I ought to buy some and do something useful with them.

Now, I have a confession to make. I don’t like peaches. Not fresh ones, anyway. Something about the smell of them just puts me off. Baked peaches are all right, though, and I thought I would make a pie. So, I stood there between the apples and the mangoes, called my mother, and asked how many peaches I’d need for a pie. (By the way, being able to do that is something that I hope I won’t take for granted for a very long time. I missed being able to call mom from the grocery store those years in Japan.)

While mom was looking it up for me (you need somewhere between 6 to 8 peaches for a pie, it seems) she talked about other peach recipes she was flipping past. Peachaberry cobbler. Peach-and-pineapple preserves. And spiced peaches.

I love spiced peaches.

I don’t often have spiced peaches – in the past we’ve usually made them with canned peaches and some spices – but I love them. Suddenly that fuzzy pile of nose-tickling peaches represented a whole lot of something delicious. I bought…well, I bought a lot of peaches.

Almost as soon as I got them home, I started peeling and chopping them for jam. I wanted to see if I could modify my bread machine berry jam recipe to work for the peaches.
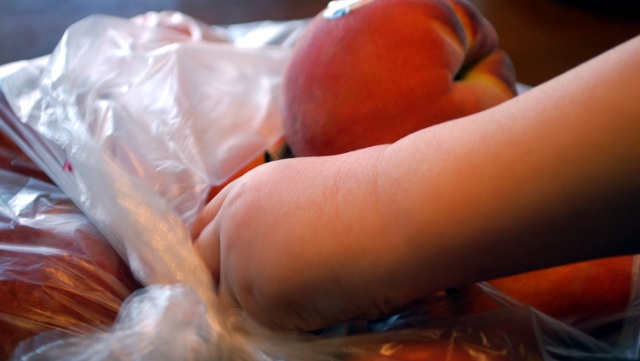
Hey look, a helper!

After chasing off a little someone who couldn’t keep his fingers off the strange fuzzy fruit, of course.

Anyway, what I’m saying is, I pretty much improvised a jam recipe and it totally worked.
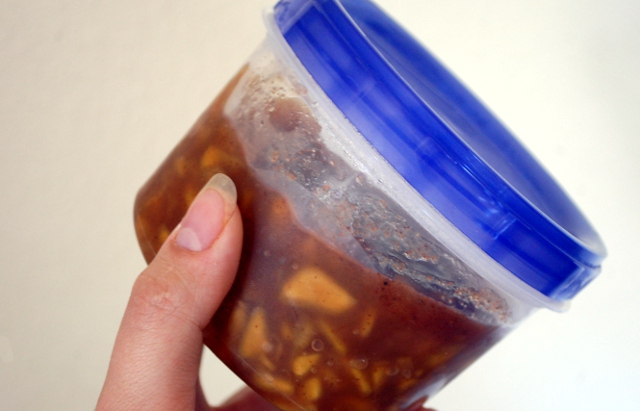
Jam!

As you can see, it’s very chunky – more like what I think of as ‘preserves’ than a real jam. It’s also delicious, and I’d recommend it for spreading on things like biscuits and rolls and pancakes instead of the inside of a PBJ. (Although I can personally verify that this is also delicious.) You know you want the recipe.

Bread Machine Spiced Peach Preserves

Ingredients:

  • 1 lb peaches (weigh after peeling and pitting: about 4 medium peaches)
  • 1 c sugar
  • 3/4 tsp cinnamon
  • 1/4 tsp cloves
  • 1/4 tsp nutmeg
  • 1 1/2 tbsp low-sugar pectin (for soft jam – for very firm jam increase to 3 tbsp)
  • 1 tbsp lemon juice
  1. Wash and prepare your peaches. (I know properly I should have blanched them, but it’s hot and I didn’t feel like playing with boiling water. I just peeled and pitted them, then sliced them and smashed them as best I could. If you want more like real jam, you might put your peaches through a food processor.)
  2. In bread pan, combine all ingredients.
  3. Set bread maker to ‘jam’ cycle; start.
  4. Allow your jam to cool before transferring to a clean container; store in the fridge (3 months) or the freezer (1 year).

Makes about two cups.

We ate some of ours over vanilla ice cream before it even had a chance to cool down.
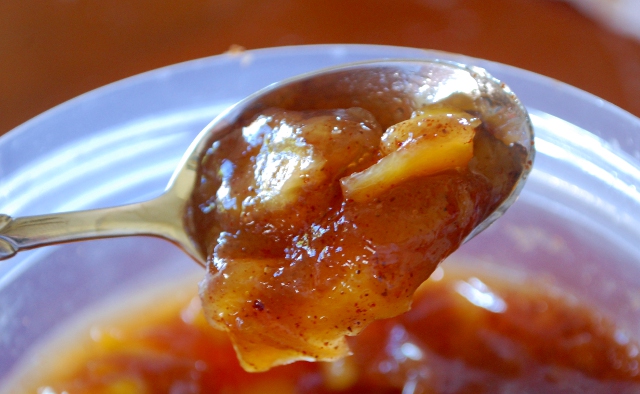
SO GOOD!

This won’t be the last peach experiment, either! Watch this space!

This entry was posted in Recipes.

Solar Crayon Recycling

…Or, at least the death-like glare of the sun serves a purpose.

Hey! It’s crayon recycling time around here again! (Apparently we break a lot of crayons.)

BEHOLD my crude artistry!

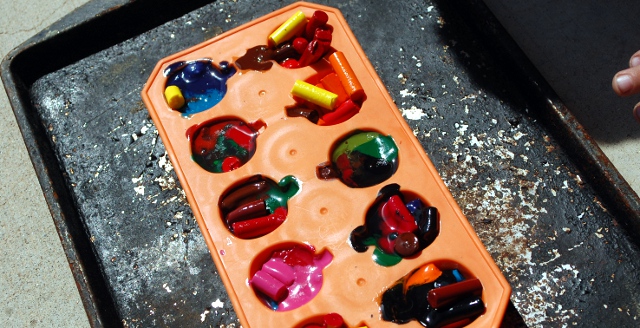
This time instead of using foil liners in a muffin pan I had a silicone ice cube tray I bought at a thrift shop for one dollar. I got it with the express intention of using it as a crayon mold – which is good because let me tell you, crayon does not come off of it very well. (Although they pop out just fine.)

So you know the drill: gather – or create – some broken crayons.

They break their crayons, is what I'm saying.

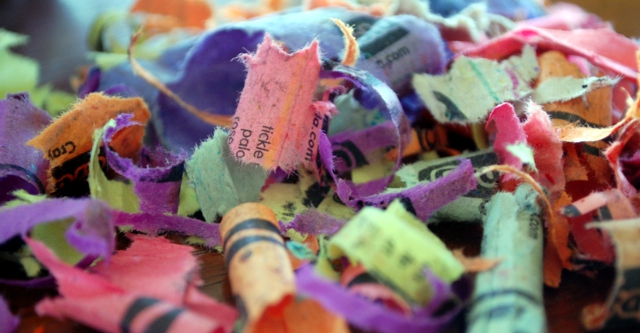
Divest them of their wrappers.

Yay?

Is is just me, or are crayon wrappers harder to rip off than when I was a kid?

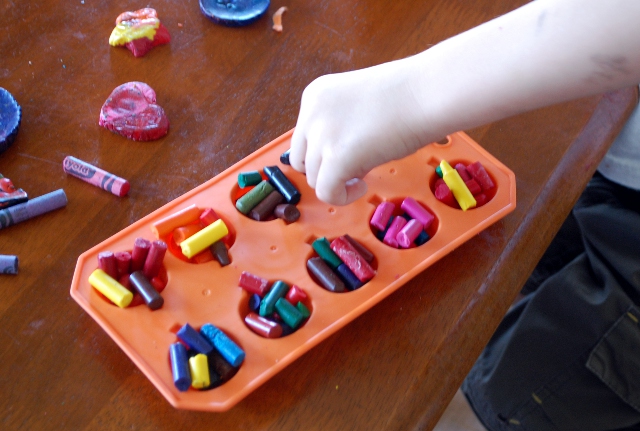
Next, break up your crayons into little pieces and fill the mold. The smaller your pieces are, the easier they will melt.

Fill em up!

Now you’re ready to melt your crayons! We decided to set them outside and let the heat from the sun do our work for us. (We tried this in Japan, and the sun did not get nearly hot enough to melt the crayons. But you know. Arizona. It works.)

How do you like my pan?

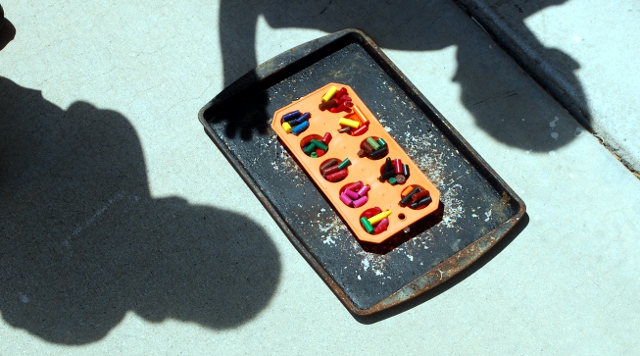
I put the tray on a blackened old pan in the hopes that it would help absorb more heat. After one hour, we had this:

It's meeeeelting!

It’s working! Unfortunately, we started it too late in the afternoon and shadows started getting in the way of our solar crayon-melting. Plus, the last few bits of crayon stubbornly refused to melt, so I decided to microwave it.

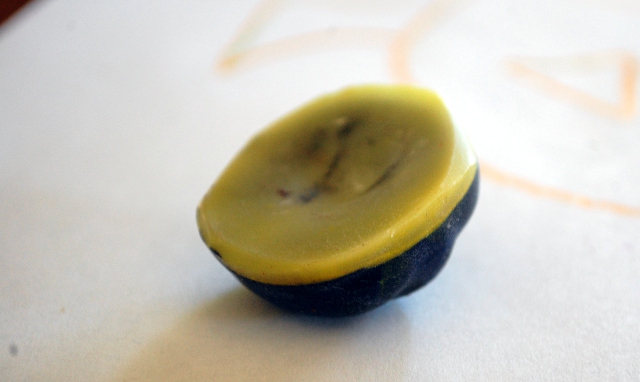
Microwaving successfully melted the last bits, but it also produced a curious side-effect.

See that line?

The wax started to separate from the rest of the crayon! This crayon has a very thick wax layer because I tossed a very cheap yellow crayon (you know, one of those waxy ones that will barely draw) that we picked up somewhere on top of the regular ones. You can see that there’s a very thin line of yellow pigment between the pale yellow wax and the rest of the crayon.

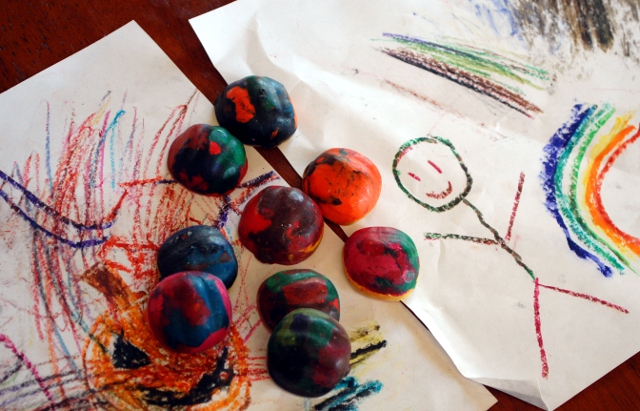
Anyway, all of the crayons had a wax layer on top to some extent. The colors that are left with the wax baked out are vivid and vibrant and thick – and also a little messy. It’s almost like grease paints more than crayons! They’re still usable, just need a little more supervision, especially around the twins.

So, if you want to melt your own crayons, here’s my advice: start before noon and let the midday sun work on them. Make sure you know where the shadows will move so you can keep the crayons out of them. And if the sun won’t do the job, don’t use the microwave, use the oven!

Ten-Second S’mores

Happy Fourth of July! I hope that whatever you do today, you make time for marshmallows.

S'mores!

We love to make s’mores after we grill – but there’s a problem. We just can’t eat a whole bag of marshmallows or use up all of our chocolate in one go.

And why is this a problem, you ask?

Because then we’d have to have another fire on another day to make the rest of them, that’s why.

In our house in Japan we had a gas stove, so it was completely possible to turn on a burner, cook one marshmallow, eat one s’more, and be done. Not so, here. I decided to take another approach.

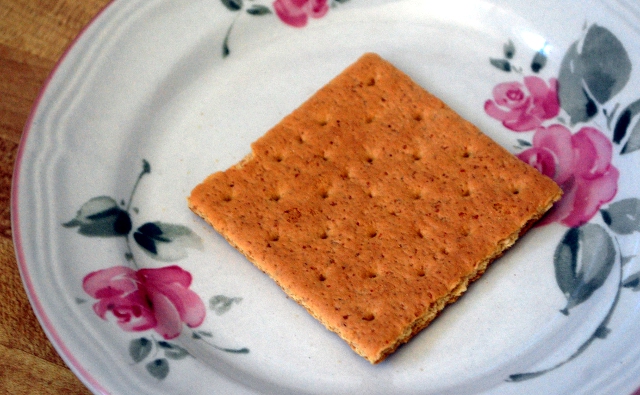
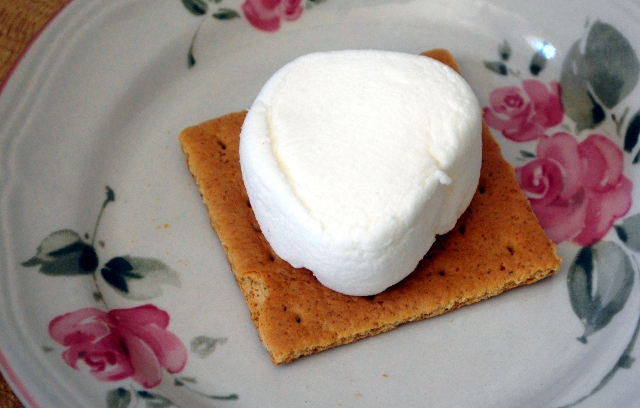
First, put a square of graham cracker on a plate.

Yum?

Add your marshmallow – or in our case, half of one of those giant marshmallows.

Better...

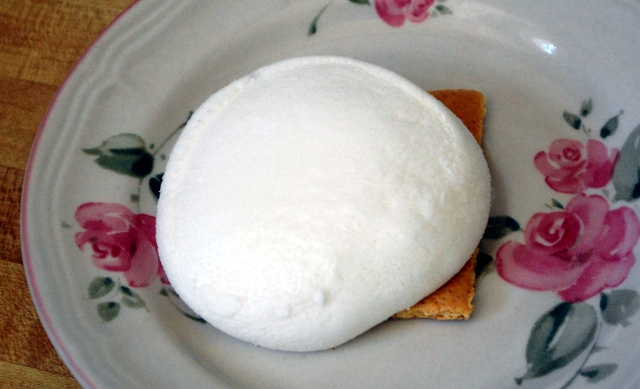
Then, microwave for about ten seconds.

Yay!

Now, right now you essentially have a hot blob of marshmallow cream on your graham cracker. (This observation led to further experimentation, and I’m pleased to announce that a delicious peanut butter and marshmallow sandwich resulted from it.) You need to let it cool down a little bit before you try and eat it, or it will all squish out the sides, leaving you with two vaguely sticky graham cracker squares stacked on top of each other instead of the whole shebang.

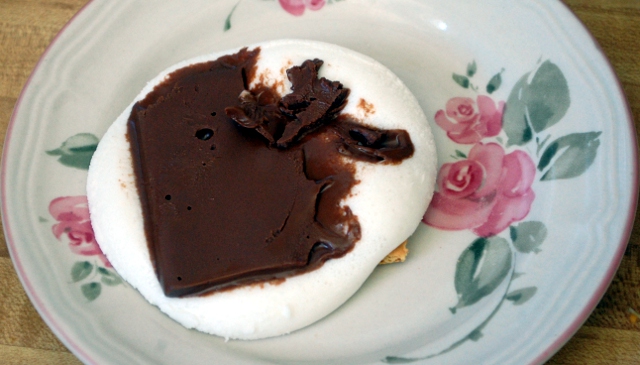
Before it cools down too much, though, add the chocolate.

Lookin good!

….This chocolate was mailed to us. It was quite, quite melted when it arrived, and time in the freezer helped but it was never quite the same again.

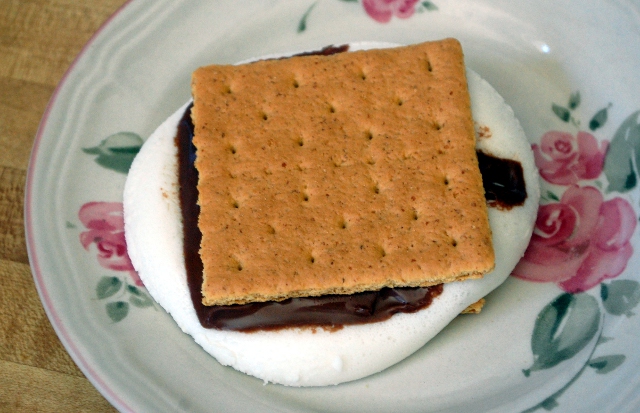
Add the other graham cracker square,

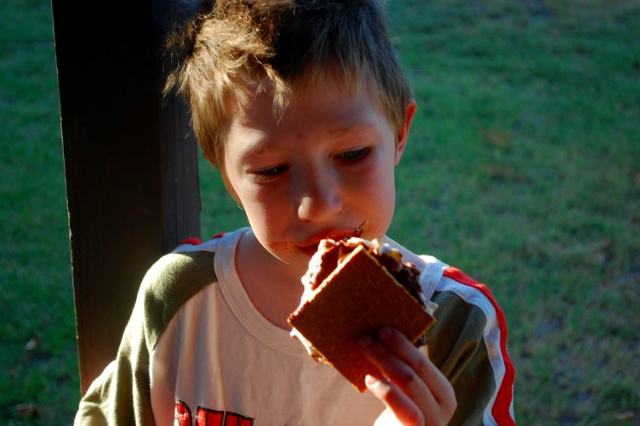
Time to eat!

And it’s time to eat! Okay, okay, maybe that should have been called twenty or even thirty second s’mores, but however you slice it that’s fast – no charcoal needed.

Happy Independence Day!

This entry was posted in Recipes.