My Tiny Valentine

Just a little heart.

Valentine’s Day is coming up, but we’re not doing much for it – partially because we pack up in about 30 days. Man, I need to stop saying we ‘pack up’ in 30 days. We load the truck in 30 days. I need to do more packing and quick. I’m going to go pack up a couple of boxes right now, as a matter of fact. Just as soon as I post this!

Anyway, this morning I crocheted a tiny heart to go in my hair and I wanted to share with you guys because I know the blog hasn’t exactly been riveting lately. (I really look forward to the time when my life isn’t measured by impending or recent moves!!!)

My Tiny Valentine

Materials
* Less than one skein six-strand embroidery floss, in red and white
* D (3.25mm size) hook
* Needle

Directions

With red, ch 2. In 2nd ch from hook, make (sc, 2 dc, 2 tr, 2 dc, tr). Ch 1. In same ch as the rest of the stitches, make (2 dc, 2 tr, 2 dc, sc, sl st).

Leave your red live and begin white. In my pictures you can see that I joined after the first round (where you would normally join) and I got a little jog in my white. To avoid that, try joining your white in the center of the heart, where you made all your stitches in the first round.

With white, sl st in each stitch around to the ch at the bottom point of the heart. Ch 1, skip the chain beneath it, then sl st in each st around to the center top, then sl st in the center of the heart to close outline. Finish white and pull ends through to back through the center of the heart.

Turn heart to the back and resume working with red. Ch 5, skip 1 ch, sc in the next 4 chains. Finish off, leaving a few inches of thread. Sew sc strip down at opposite end to create a little loop that you can stick a bobby pin or barrette through. Weave in ends.

Enjoy!
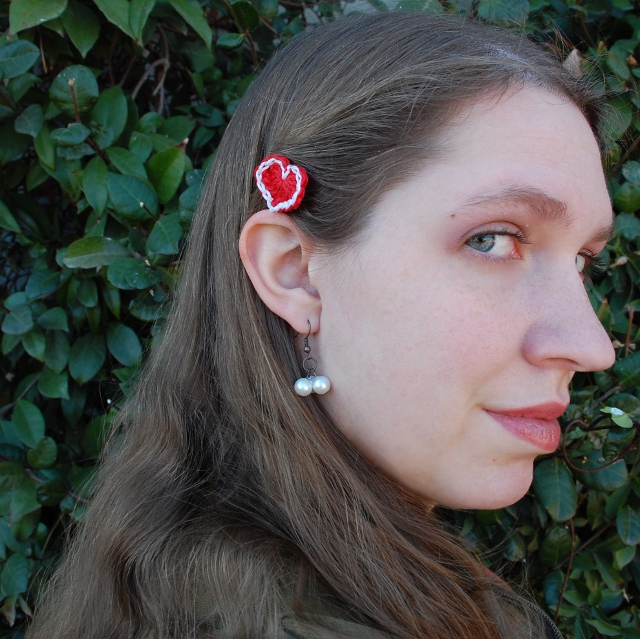
Hearts to wear in the hair!

Crochetvolution is Live!

Hi everyone! The Spring Issue of Crochetvolution is live and I couldn’t be happier about it. In large part, it’s because I don’t have to put together the next issue until AFTER we move, so I can concentrate on packing. (My “pack-up January” resulted in about a dozen boxes getting packed. February really needs to go better, or we’re going to end up just piling things in the truck.)

Anyway, have I mentioned that this issue is awesome? There are TEN patterns to go along with the articles and features, and they are incredible.

Crochetvolution. It's so hot right now!

Just a reminder, if you want to be notified via email when new content is available, you can subscribe to the mailing list! Also, if you would like to help reduce my stress level, you could always submit something to Crochetvolution. We have room for pictures of your crocheted projects, patterns and articles (I would love to have more articles next time!), and even offer free promotion of paid pattern releases.

Anyway, you’ll have to go over there to see everything, but here’s one of my favorite projects. I had to keep it under wraps, of course, but this little playset is on the shelf with all the ‘trip toys’ we’re working on.

Duck Pond Playset

Hooray for Crochetvolution!

Make Your Own Sticker Scenes

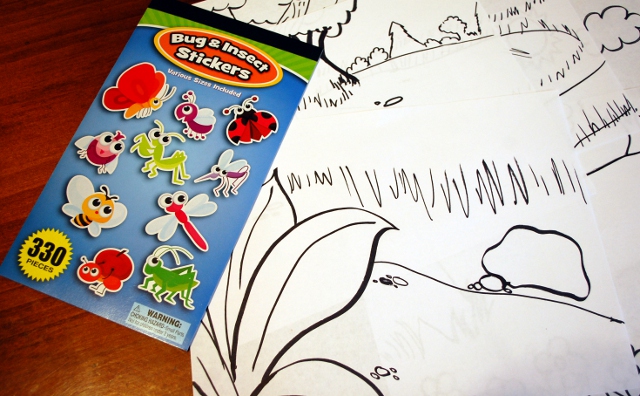
Hello, and welcome back to “We’re Moving Soon!” This week while shopping I came across a bunch of sticker booklets for $1 apiece. Nice, thick sticker booklets too – not that two sheet nonsense. I bought one each for Max and Charlie in ‘bug,’ ‘zoo animal,’ and ‘crazy smiley faces.’ And, since stickers are way more fun when you have a picture to put them in, I drew some.

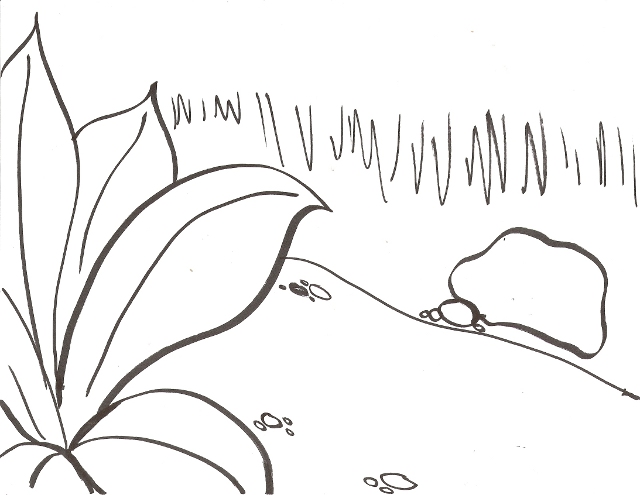
Coloring scenes for stickers!

I think it’s a great idea. The kids have a place to put their stickers, then they can still play by coloring in the pictures! I’m sure I’ll be drawing some more for the animals and the faces, but out of the bug ones this one’s my favorite:

If you have a hankering for bug-appropriate coloring pages, you can find them here or go up to the navigation bar and look under ‘Printables.’ I’ve put all five pages together into a printable PDF!