Angry Birds Totes

Max’s birthday party is next week, and what with Crochetvolution coming out this week – you went to see it, right? – I’m a little underprepared. In fact, according to my pinspiration board (you like that?) I have about seven cakes to make, eight games to put together, ten party favors to craft and a wide variety of things to glue bird faces to. Hah.

First up in the glued faces department, tote bags!
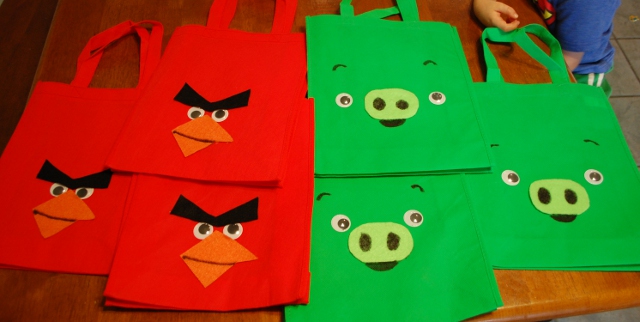
Angry Birds tote bags!

Inspiration pinned here.

I found these tote bags for a dollar apiece. They had very, very small ones (4 or 5 inches square) at three for a dollar, but that wouldn’t hold some of the favors I’m putting together, so big ones it was. We’re inviting four boys this year, plus Max and Charlie, so everything we make has to be in multiples of 6.

Also, believe me, green was not my first choice, but it was that or pink, and I thought my chances of convincing the boys that pig bags were cool was higher than the same thing for pink bags.

So, to make these bags you will need:

  • fabric totes
  • some paper
  • the biggest googly eyes you can find
  • felt in light green (for the pigs) or black and orange (for the red bird)
  • hot glue gun
  • sharpie marker

First, take your paper and make a template for whatever pieces you will be cutting out. You will save yourself a lot of time and trouble. My first few tries were nothing like what I wanted, but fortunately they were cut out of paper and not my felt, so it was a simple matter to try a few more times. Here’s what I ended up with:
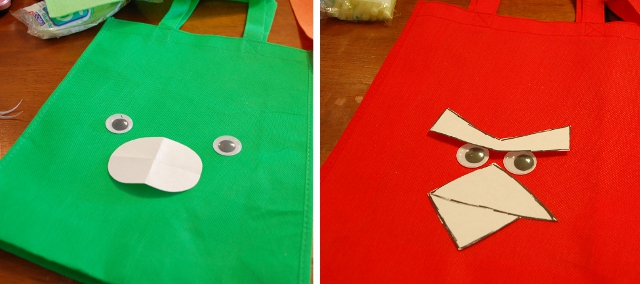
Lookin' good.

Then trace it, cut it out, the works. Don’t forget to flip your pattern pieces over so that any writing that doesn’t get snipped off will be invisible from the front. Pro tip:
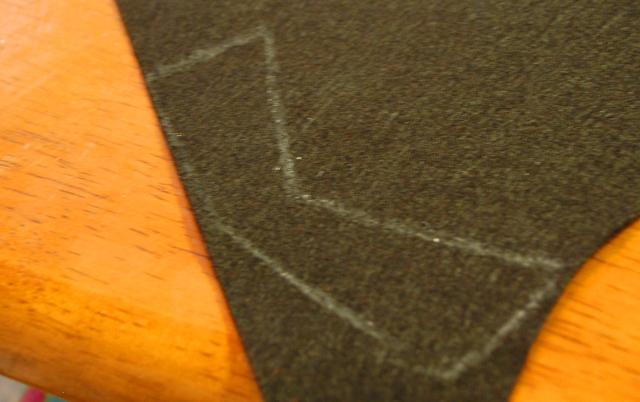
White crayons: good for something after all.

White crayons show up beautifully on black felt. They will, however, accumulate fibers and quickly stop writing, so you need to either clean or sharpen the writing surface frequently.

Once you have all your pieces cut out, arrange them to your liking, glue them on, and draw details with the Sharpie.
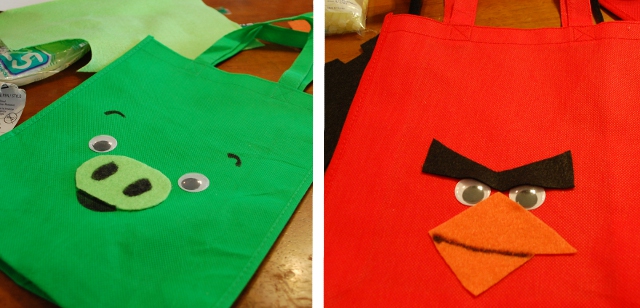
End result!

All I had to buy for these was the bags themselves, the eyes, and two sheets of felt, so these come out to $1.25 apiece. Not bad for something that the kids love! Now all I have to worry about is what will go in them.

A Year of Crochetvolution

Hey! Crochetvolution is up! (Did you forget about it? You forgot about it, didn’t you. That’s okay, I forgive you. Now go check it out and think about what you’ve done.) Fall 2012 is our fifth quarterly issue, which means it’s our BIRTHDAY! Yaaaaay!

About three days ago Greg asked me if I had enough submissions for it because, as he said, “…You haven’t been making much for it.” And he was right. I only have two patterns in this issue, which is exciting, believe me.

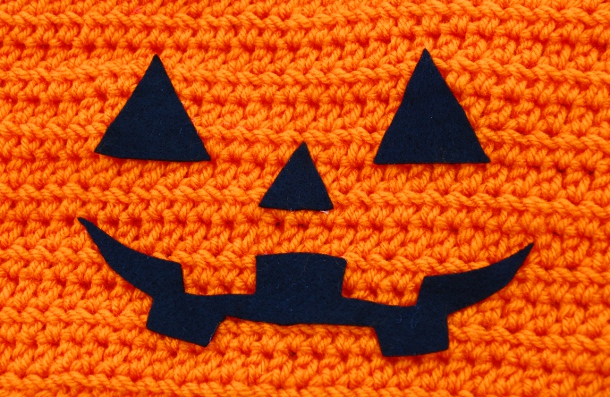
Trick or Tote!

(Yes. I’m going to make Fall happen, dang it. Summer is too hot to be allowed to continue.)

Along with all of the spectacular contributions I had the opportunity to interview Kim Werker, who, I am sure you all remember, founded Crochet Me and inadvertently set me on the path designing patterns and spending far too much of my money on yarn. It was fun. (The interview, not spending money on yarn. Although that’s fun too.) You should go read it.

What are you still doing here? Go on now!

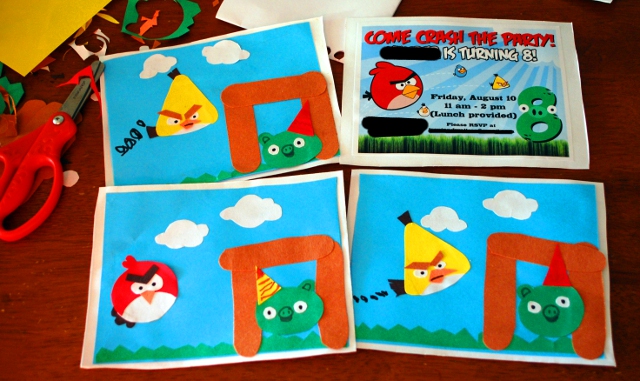
Homemade Angry Birds Invitations

I don’t believe I’ve mentioned it yet, but Max is turning 8 soon. Seriously. Anyway, he really wanted an Angry Birds party this year. The two of us whipped up some invitations this afternoon so he can pass them out to his friends at church tomorrow.

Come Crash the Party!

I got the idea for the cards from Etsy (here’s a link to a pin, since the listing isn’t up anymore). Scissors, construction paper, glue, and the time to painstakingly cut little pieces out of paper and glue them together: that’s all we needed. Max even helped me assemble them.

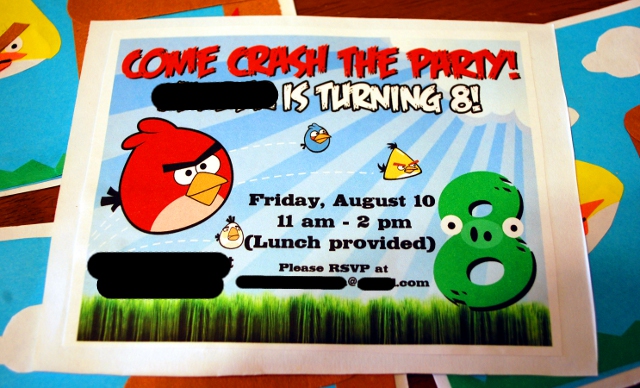
As for the details on the back:

See the green piggy 8? That's all me.

If you’re throwing an Angry Birds party, you should definitely go download this free kit. There are graphics, the font, backgrounds, cupcake wrappers, banner templates, you name it. I was able to make it look really good.

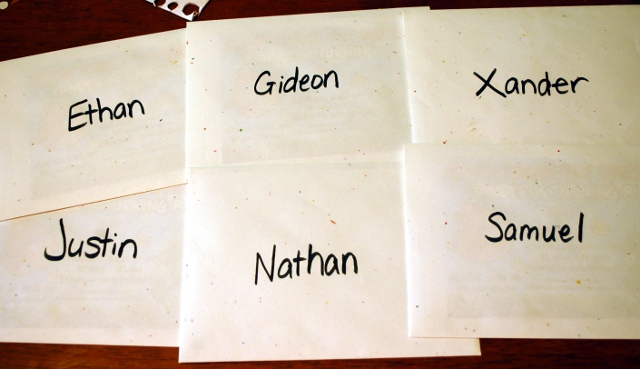
We glued it to the back, stuffed it in the envelope, and we’re done! We made one each for Max and Charlie, too, which they are really excited about. I’ve mentioned before that the names I use on the blog for my kids aren’t their real names. Well – they’re below on two of the envelopes. See if you can guess the real Mall children! (…I won’t tell you if you guess right, haha!)

Guess, guess the real Mall children!

It was fun, and we’re getting our party off to a promising start.