How to Build Simple Raised Garden Beds

We’ve decided to try some raised bed gardens this year, which I think is pretty brave of me. You know. Considering my long-running and well documented propensity to kill absolutely everything that I try to grow. They are not cheap, they are not easy, but they are very, very simple. (There’s just a lot of hot, heavy hauling and grunt-work to get them set up.)

Here’s the before shot.
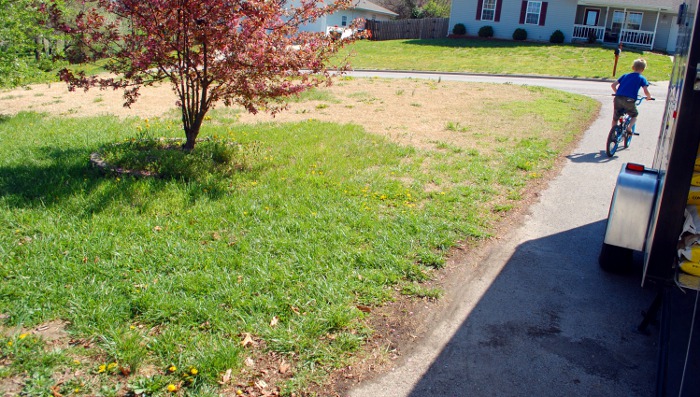
Before: a patch of patchy lawn.

Our lawn is not particularly attractive, and the only part of the property where we have BOTH sunshine AND flat ground is in the front yard. We decided to build along the driveway.

Follow along and you, too, can build simple raised garden beds! To make them the way we did…

You Will Need (PER BED):

  • 3 – 2″ x 10″ x 8′ boards*
  • 6 – 40-lb bags topsoil
  • 6 – 40-lb bags peat moss
  • 6 – 40-lb bags compost/manure
  • Newspaper (a lot)
  • 3 big bags woodchips/mulch
  • A drill and 12 long screws

First: Cut one board in half. If you don’t have an appropriate saw for the task, never fear! Lowe’s will cut lumber for you. This leaves you with two 8-foot sections, and two 4-foot sections. Like so:
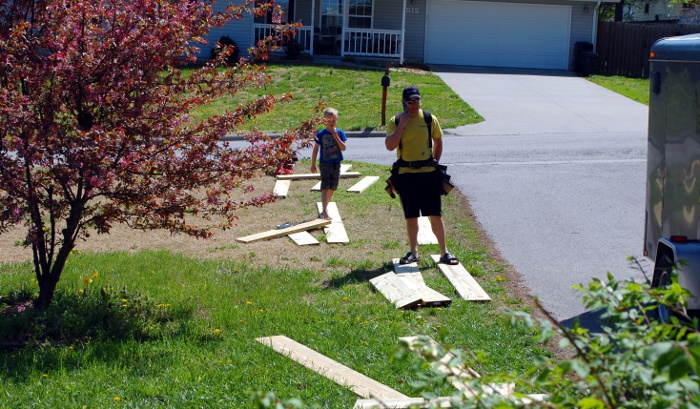
In progress.

Well, you get the idea.

Assemble the boards into a rectangle with the short pieces overlapping the ends of the long pieces, and secure with three screws in each joint.
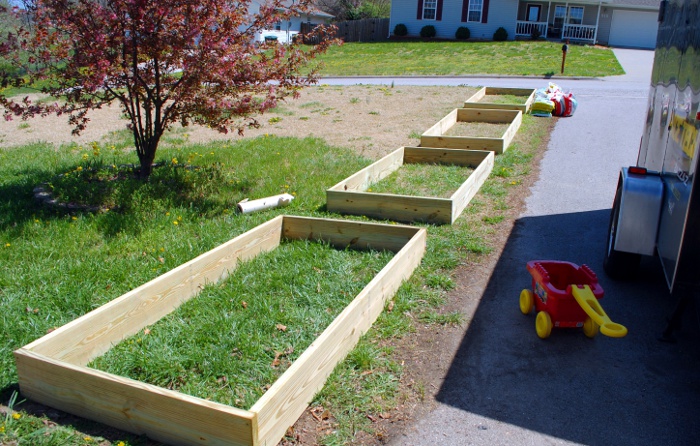
I thought the hard part was over.

Next, thickly layer newspaper in the bottom of your bed. This will smother the underlying grass and weeds and prevent them from getting any smart ideas about growing up into the garden. Then you pour in all of your dirt, mixing as you go. (I suppose you could get fancy and mix them in a wheelbarrow before dumping it in, but we don’t have one.)

How to Build Simple Raised Garden Beds

Finally, cover the dirt thickly with mulch. This helps prevent the garden from being colonized by weeds AND it also helps keep the dirt from drying out and blowing off. We’ve already transplanted some starts and planted some seeds, and only time will tell who will live and who will die.

* A Note About Wood: On many websites you will read how you should never, never use pressure treated wood in a raised garden bed because it will leach arsenic into your food, and you should instead buy cedar ($$$) for your garden. Fortunately, wood treated with arsenic was banned a decade ago, so you can now use the cheap wood without fear of poisoning your children. Read more here.

Make it in Minutes – Superhero Tees!

So here’s the deal. I made a Green Lantern costume for Teddy to wear on Halloween last year (because his love of Batman is being eclipsed, somehow, by the Green Lantern). I deliberately made the costume re-wearable; for example, the top was just a long-sleeved turtleneck with some colorblocking and the logo in the center. (I used this same method to apply the logo to that shirt…which is why I had transfers left over.) I did this because I knew he was going to want to wear it over and over, so why not make it “real clothes”?

Here’s the problem, though. Spring is well underway. It’s getting hot outside, hot and humid. Teddy’s still running around wearing his Green Lantern shirt, but despite the fact that his face was getting hot and sweaty doing it, he wouldn’t let it go.

Enter homemade hero shirts.

Make it in Minutes - Superhero Tees!

Life is tough for kids who favor a less-popular hero. I haven’t found anywhere around here selling Flash (Tommy’s current favorite) or Green Lantern shirts (and believe me, I’ve looked), so I went back to good ‘ol iron-on transfers.

Estimated Time Requirements: 10-15 minutes

You Will Need:

First, you need a high-quality image of whatever you want to transfer. (I found the Flash here and Green Lantern here.) The Dark T-shirt transfers are white instead of transparent, so make anything you don’t want printed white. I removed the green around the Green Lantern symbol.

This is important: do NOT flip your image for a Dark transfer. Repeat, do NOT flip your image.

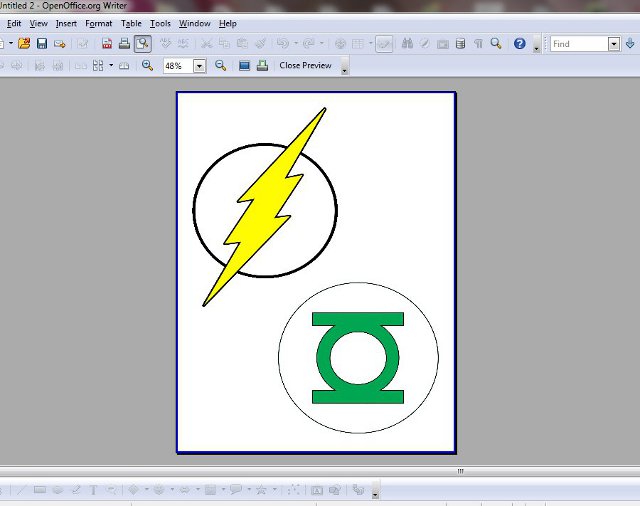
Arrange your images in a Word document to fit how you like on the page.

Like so...

Cram as many onto the page as you want, the more you print on the same sheet, the cheaper each one is. (Each transfer sheet costs about $2.50, so go for it.) I only printed two…I figured that was good enough for today.

Next: print off a test copy onto regular printer paper. This is a very, very important step. The ink is cheaper than the transfer sheet, so make sure it prints off correctly. Cut out your pieces, and try them on your shirts to be sure you like the size and positioning.

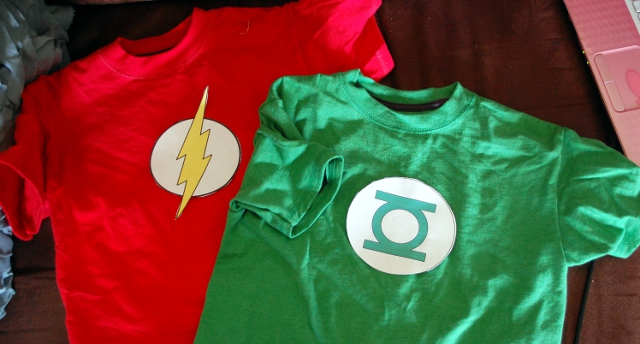
Seen here: paper logos.

Now is a good time to plug in your iron. You cannot use an ironing board for these transfers, they require a hard surface. I used my dining room table, with a pillowcase to protect it and pad under the shirts slightly.

While your iron is heating up, print off your transfer sheets. Make sure you know which side of your paper is going to be printed on – for my printer, that means putting the sheet in face-down. Let the ink dry for a minute, then cut them out. If you have an outline around your picture, make sure you cut slightly into it so that no white is showing around the outside, because that will be very visible on the finished shirt.

Once the iron’s hot, iron your pillowcase AND your shirt so there won’t be any wrinkles under the transfer.

Gently peel off the backing (this can be frustrating) and lay your transfer colored side up on the shirt. Cover it with the tissue paper from the transfer package and iron it on according to directions.

Let the celebrations begin!

Make it in Minutes - Superhero Tees!

More on The Blessing Dress

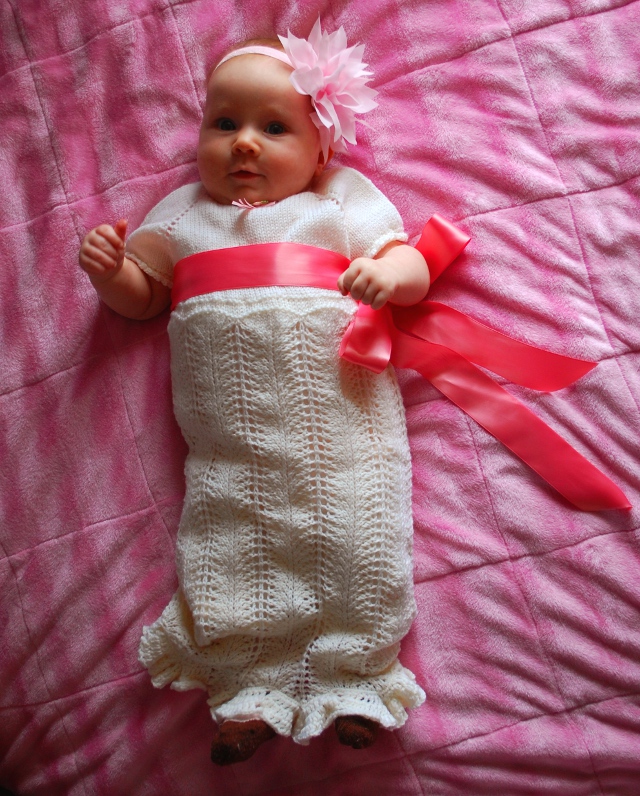
If you liked Ivy’s blessing dress (you know, this one)

The finished blessing dress!

…you’ll be delighted to learn I got the pattern written up. (I’m happy about that! I hate having notes languish around for months or years until I can’t even remember how they go anymore.) It’s here! Go see! Have at it!

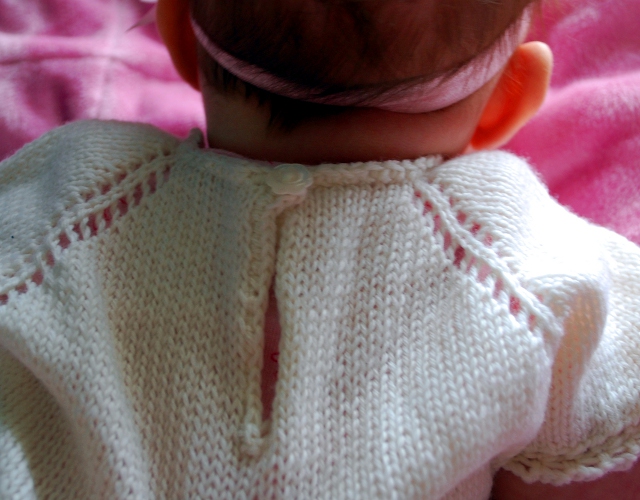
And just because no one else is really going to see it, I’m going to show you the back:

See? Flower button.

I love the little flower button.

I love this whole dress.

Free blessing dress knitting pattern

If you love it too, go grab a copy of the free pattern. Be sure and let me know if you make one, I’d love to see it.