So here’s the deal. I made a Green Lantern costume for Teddy to wear on Halloween last year (because his love of Batman is being eclipsed, somehow, by the Green Lantern). I deliberately made the costume re-wearable; for example, the top was just a long-sleeved turtleneck with some colorblocking and the logo in the center. (I used this same method to apply the logo to that shirt…which is why I had transfers left over.) I did this because I knew he was going to want to wear it over and over, so why not make it “real clothes”?
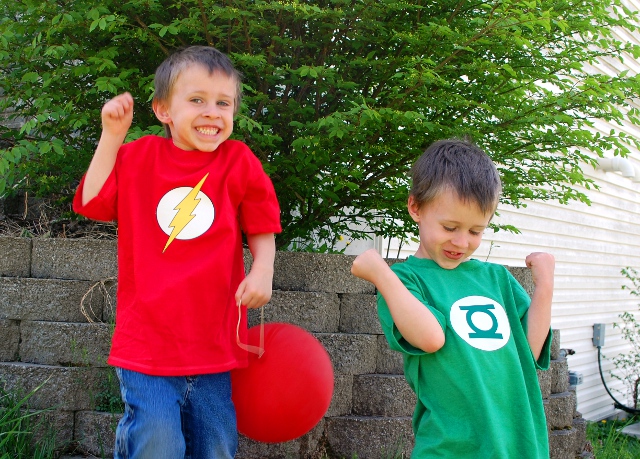
Here’s the problem, though. Spring is well underway. It’s getting hot outside, hot and humid. Teddy’s still running around wearing his Green Lantern shirt, but despite the fact that his face was getting hot and sweaty doing it, he wouldn’t let it go.
Enter homemade hero shirts.

Life is tough for kids who favor a less-popular hero. I haven’t found anywhere around here selling Flash (Tommy’s current favorite) or Green Lantern shirts (and believe me, I’ve looked), so I went back to good ‘ol iron-on transfers.
Estimated Time Requirements: 10-15 minutes
You Will Need:
- Avery Printable Dark T-Shirt Transfers
- T-Shirt(s) – prewashed
- Printer w/colored ink
- Scissors
- Iron
- Pillowcase
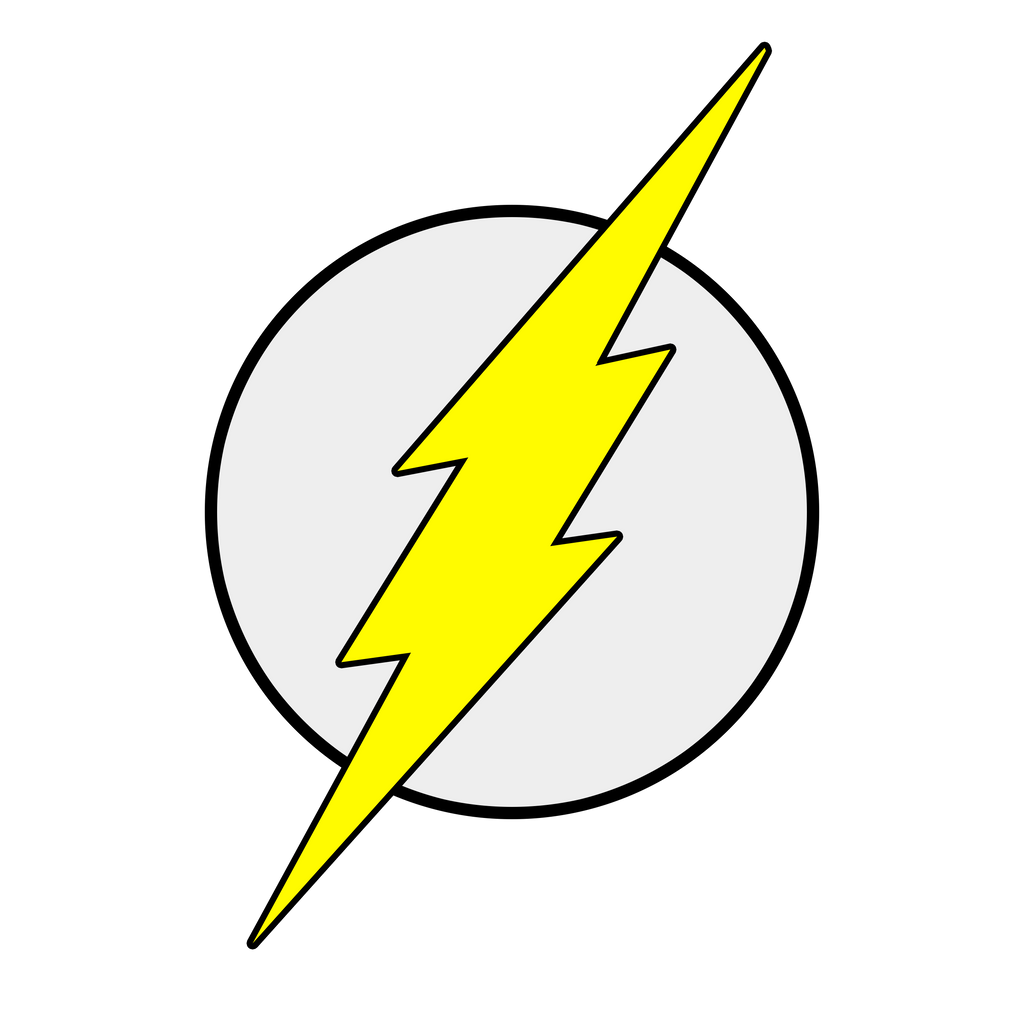
First, you need a high-quality image of whatever you want to transfer. (I found the Flash here and Green Lantern here.) The Dark T-shirt transfers are white instead of transparent, so make anything you don’t want printed white. I removed the green around the Green Lantern symbol.
This is important: do NOT flip your image for a Dark transfer. Repeat, do NOT flip your image.
Arrange your images in a Word document to fit how you like on the page.
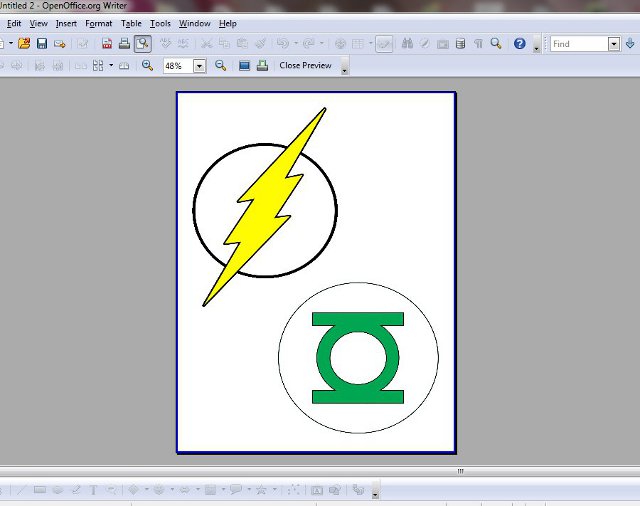
Cram as many onto the page as you want, the more you print on the same sheet, the cheaper each one is. (Each transfer sheet costs about $2.50, so go for it.) I only printed two…I figured that was good enough for today.
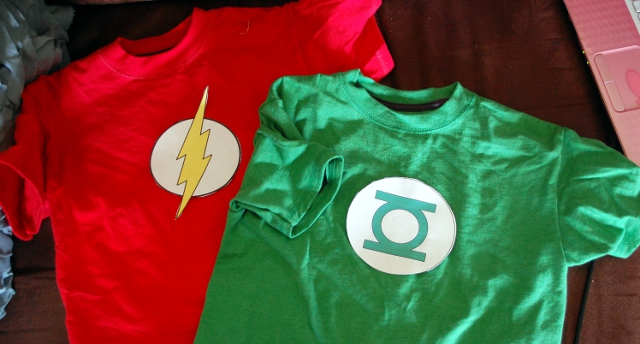
Next: print off a test copy onto regular printer paper. This is a very, very important step. The ink is cheaper than the transfer sheet, so make sure it prints off correctly. Cut out your pieces, and try them on your shirts to be sure you like the size and positioning.
Now is a good time to plug in your iron. You cannot use an ironing board for these transfers, they require a hard surface. I used my dining room table, with a pillowcase to protect it and pad under the shirts slightly.
While your iron is heating up, print off your transfer sheets. Make sure you know which side of your paper is going to be printed on – for my printer, that means putting the sheet in face-down. Let the ink dry for a minute, then cut them out. If you have an outline around your picture, make sure you cut slightly into it so that no white is showing around the outside, because that will be very visible on the finished shirt.
Once the iron’s hot, iron your pillowcase AND your shirt so there won’t be any wrinkles under the transfer.
Gently peel off the backing (this can be frustrating) and lay your transfer colored side up on the shirt. Cover it with the tissue paper from the transfer package and iron it on according to directions.
Let the celebrations begin!