Spring is creeping in over here. Last week we even had one day where the boys were running around outside barefoot in shorts and t-shirts! So, when we wanted to cheer up someone who wasn’t feeling well, it was easy to think of what to do.
We made her some flowers!

The kids had a lot of fun helping me cut out the shapes and glue our flowers together. It’s really simple to make your own spring blossoms!
Hyacinths

To make a hyacinth, simply make a tall, puffy ‘cloud’ shape in purple, pink or white, a long green rectangle for the stem, and two long, pointed leaves. Glue it together, and presto! A hyacinth.
Tulips

For tulips, cut a fat teardrop with a zigzag top for the blossom (you can use pretty much any color you like for tulips, we used yellow and red.) Then cut a very long, thin green stem and some elongated teardrops for the leaves.
Daffodils and Paperwhites

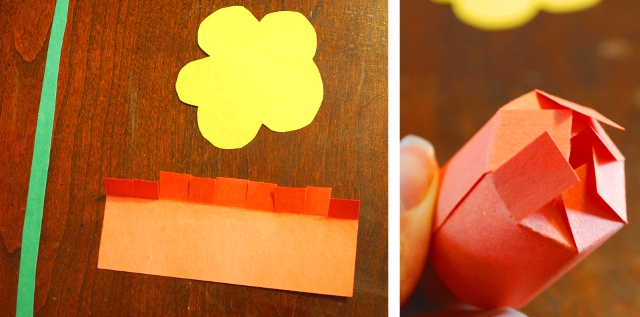
For the daffodils, we cut a sort of daisy-shape out of yellow for the petals, a long orange rectangle for the trumpet, and a very long, thin green rectangle for the stem. The trumpet, of course, is the trickiest part to construct. Make sure your rectangle is long enough that when you wrap it into a circle it’s as big as you want it. Fold over the bottom of your rectangle and cut regular slits into it up to the fold line so that it will fold into itself when you curl it. Then, glue the ‘tube’ together at the edge, and glue the whole thing to the center of the petals.

The paperwhites are made with the same construction; just a bit smaller (and, of course, with white petals). These were the trickiest to make, since the trumpets were so small, but I think they were some of the best-looking flowers we made.

Hooray for Spring!
