Well, I suppose it’s time for me to get back to work here! First order of business: showing off all of the awesome Christmas presents that I made for the boys. Up first: something I am ridiculously proud of:

I made a play kitchen for Tommy and Teddy! Obviously, if you want to make something similar your final cost is going to depend on the materials you can beg, borrow, or scrounge. I really had thought we could do it for cheaper than $35. Maybe you can!
Here it is ‘before:’

We were up visiting my parents and my mother asked, “Would you have any use for this?” It was my little sister’s…back when they painted her whole room purple. Before that, apparently, it was my aunt’s. It was an old, lavender, plywood bookcase, but I had a plan.
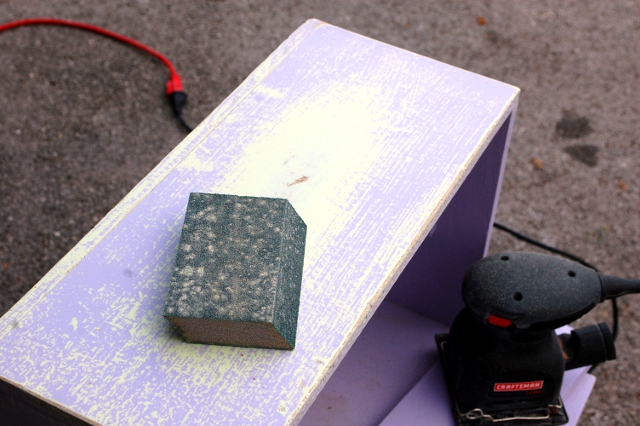
Unfortunately, Plan A went nowhere. After forty minutes with a power sander, all I found was a layer of mint green paint and a tiny bit of wood. Sanding was out. (Probably, this was a bad idea in the first place.)
That left painting.
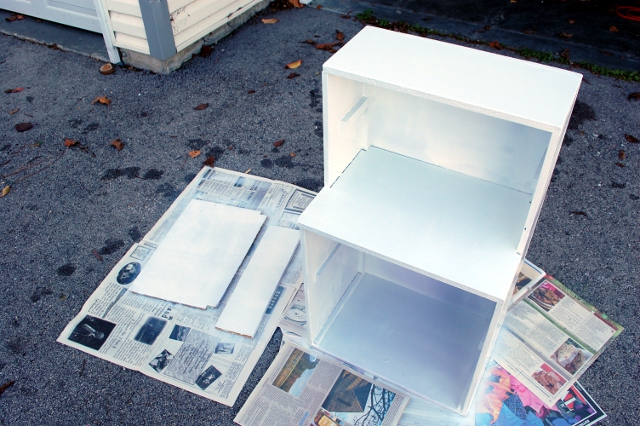
This is where a lot of the money went. I spent about $12 on white spray paint. There’s probably a cheaper way to do that, too! Once the purple was all covered in white, though, it was time for the fun part.

The whole shelf is only about a foot and a half wide, so I had to use the space wisely.
I had Greg cut a rectangle out of the shelf for me, and punch a pair of holes in the loaf pan I bought for the sink ($1!) so we could screw it in securely. Then I added a pair of silver drawer pulls for the knobs (about $2.50) and a wooden letter “J” ($2.50) which I sanded smooth and painted with some silver craft paint ($2). That’s about $8 for the sink.
For the burners, I bought a pair of red reflectors about 4″ across ($1.50!) and screwed them on. Easy and cheap!
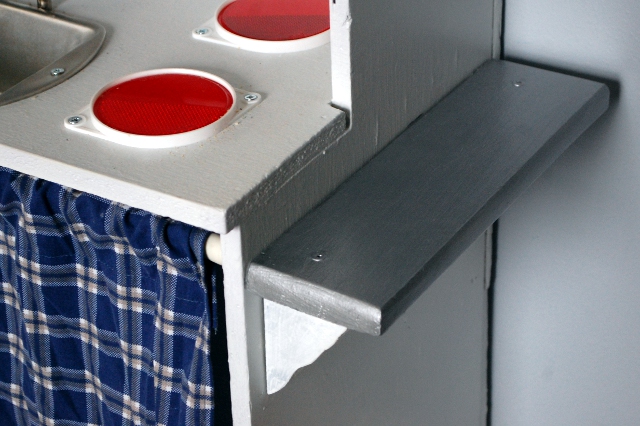
To expand the play space a bit, I added a little shelf onto the side. I found it at a thrift shop for 50 cents. I used more of the white and silver paint to make it match and screwed it on.

I bought a tiny tension rod ($2!) to go in the bottom part and sewed a little curtain out of cloth I already had.
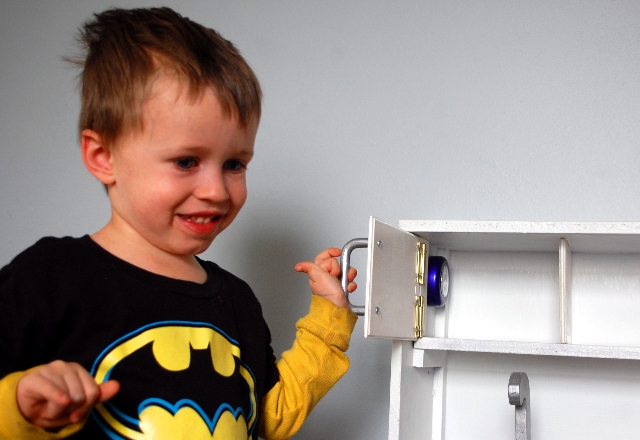
The microwave was tricky. I bought two little wooden rectangles ($2), some hinges ($2?), a cabinet handle ($1.50), and a little touch light to go inside ($1.50). One of the wooden rectangles was just about the right size to be the door, the other needed to be cut to fit inside the shelf and be a divider. I painted both of them white, then knocked the divider into place with a hammer and glued it into place with some wood glue we had. I painted a silver rectangle on the door, painted the handle silver too, and put it on the door before I put the door on. (I had to put a little piece of scrap wood between the hinges and the shelf to allow the hinge to swing properly.)
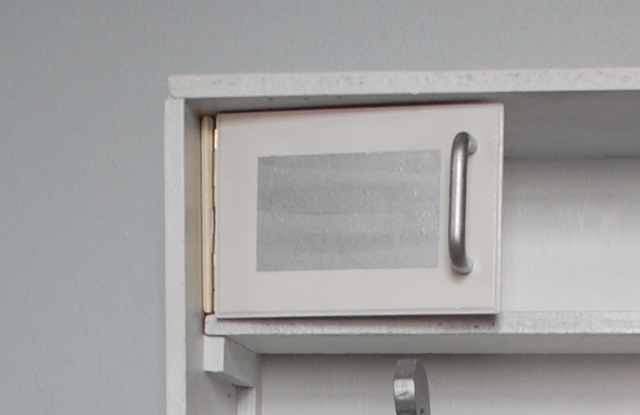
I may get a little magnet or latch of sometime to help keep that door shut, but for the time being it works just fine. Adding up all of the things I bought (and a packet of wood screws, $1) that’s about $32 we spent on it.
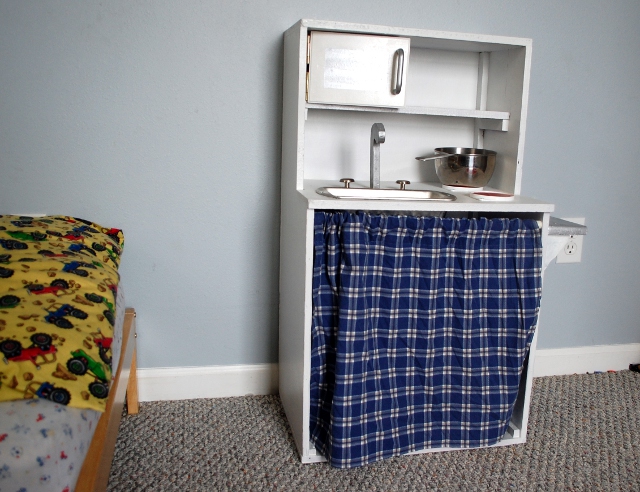
Look how good it looks! It was totally worth it.


Love it! I’ve always wanted to make one of these–but I’m lacking a saw!
We JUST got a jigsaw from my husband’s friend, I couldn’t wait to have him cut out the sink. Before that, it was just going to be a stove with four burners.