Max and Charlie have a friend who has just turned seven. They’re going to her party today, and I asked them what they thought she wanted for her birthday.
Max frowned, obviously concentrating very hard. Trying to put himself in her place was apparently a strain. After a few moments, he ventured, “…a pink castle?”
Then I asked Charlie (who had been pondering the question since I asked Max) and he responded, “How about a pink unicorn?”
“Oh yeah,” said Max. “A pink unicorn.”
“Maybe she already has a pink unicorn,” I said.
“No, I don’t think so,” Charlie said. “But she does have a black one.”
A quick word with her mother confirmed that she did in fact already have a pink unicorn, so we had to come up with something else – and I had ideas.
(I would just like to say that both of the boys flat-out refused to model this when I first asked. I coaxed Max – who’s not as concerned with his male dignity – into putting it on, but he immediately ripped it off howling, “It’s too much flowers on it!!!” Charlie was then called back in, but only agreed to be photographed if he could make faces that expressed how he felt about it.)
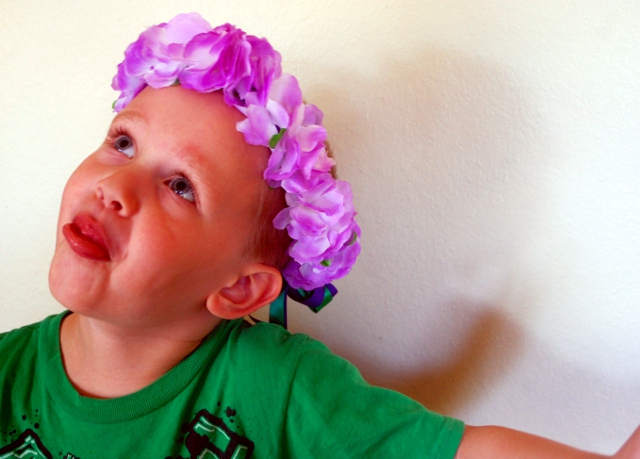
Charlie is also the one who told me that she won’t like it because girls only like pretty colors (like pink). Purple happens to be one of Charlie’s favorite colors, so obviously it can’t be a ‘girl’ color. Too funny.
Would you like to make a flower fairy crown?
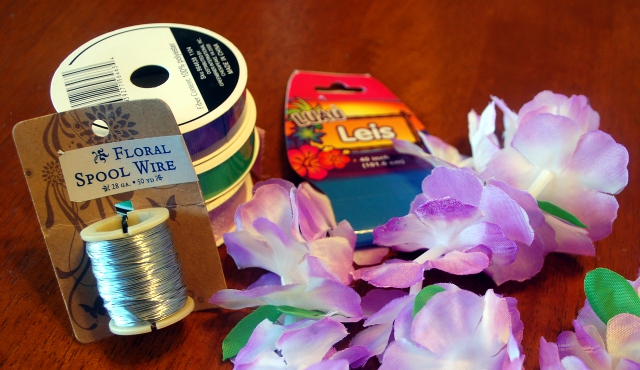
You Will Need:
- Fine, flexible wire (I used 28 ga. floral wire)
- Several yards of ribbon (different colors)
- An artificial-flower lei
- Wire cutters
- Scissors
- Needle and thread
- Clear nail polish or glue
First, measure the head you want to make a crown for. Cut a piece of wire long enough to encircle it twice PLUS about six inches. Then, fold your wire in half and twist it together all the way down to the end. (I suppose you could just use a stiffer wire, but I think having the wire “plied” will protect it from snapping as it’s played with.)

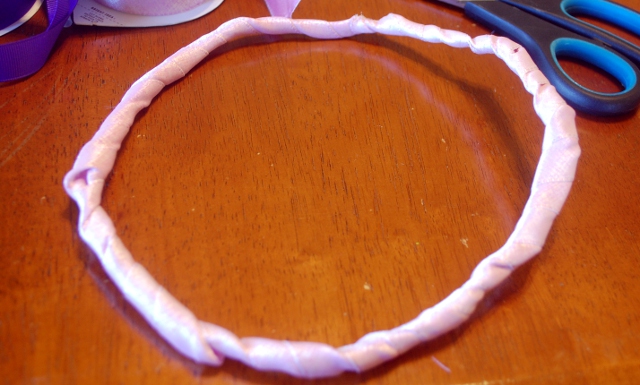
Bend your wire into a circle (making sure that it will fit comfortably over the child’s head with a little wiggle room) and twist the ends together. Be extra careful to get the ends pressed close against the rest of the wire so that they don’t poke out!
Then take the ribbon you want to use for the base color (you won’t see very much of this in the finished crown, but you still may not want to use vivid tangerine or something because a bit will show through) and fold it over the wire join. With needle and thread, sew the ribbon in place – if possible, poke your needle through the twists of the wire as well, to prevent it from shifting position.
Then wrap your ribbon all the way around the circle of wire. It’s better to overlap than to skimp and have the wire showing through. When you reach the beginning again, put some glue or nail polish on the end of your ribbon to stop it from fraying and coming undone, and then sew it in place. (Don’t worry too much about making it look pretty, this will be covered up.)
Next you’re going to sew the flowers on. Cut the string of the lei and pull the flowers off. I sewed the flowers on two different ways:
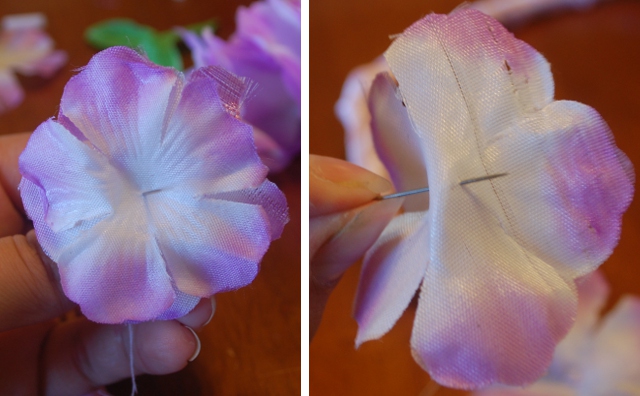
some of them I attached flat against the crown (sometimes layered) so that the whole flower was visible. Others I folded in half and poked the needle through both layers to get the flower to stand out from the circlet. When you attach your flowers, don’t worry about covering every inch of the crown – you’re going to wind ribbon through the gaps so it’s okay if there’s some space between them.
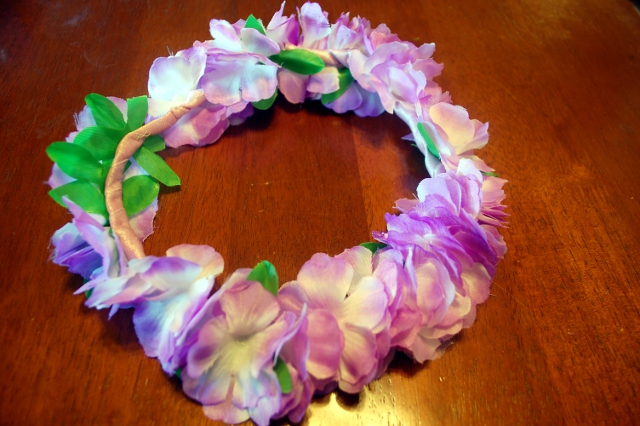
Now cut a piece of ribbon long enough to go around the circlet twice PLUS about two feet. Leave about twelve inches hanging and start wrapping the ribbon around the crown, in between the flowers. Once you get back to the beginning, tie the ribbon ends together.
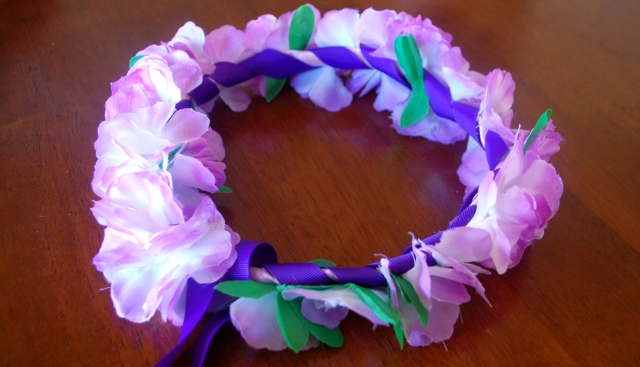
Then cut some extra pieces of ribbon (as many as you like) about two feet long. Wrap them around the crown in the same place as the other ribbons and tie all of them together into a bow.
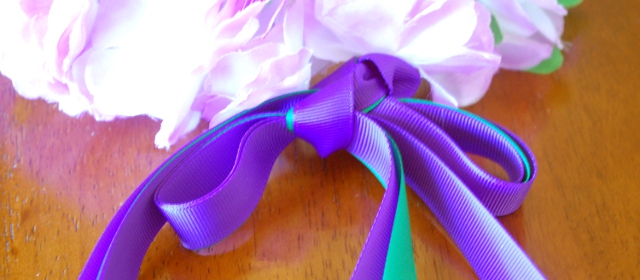
Using a needle and thread, sew the bow in place and together (so it won’t come untied). I found a stray flower, so I sewed it over the center of the bow. Then, separate the ribbons loops in the bow so you can see all of them, trim your ribbons to the length you like and put nail polish on the ends to keep them from fraying, and you’re finished!
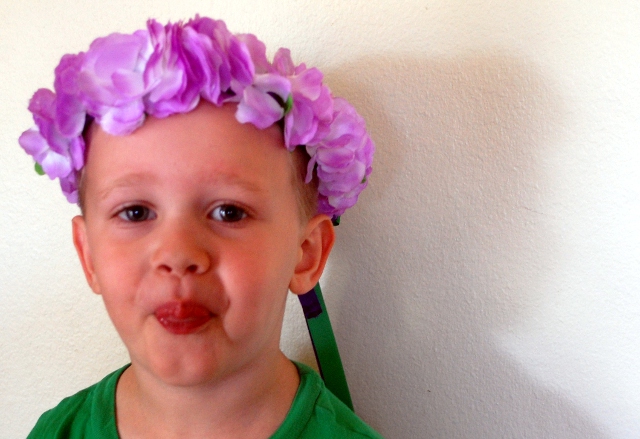
Whether he likes it or not.
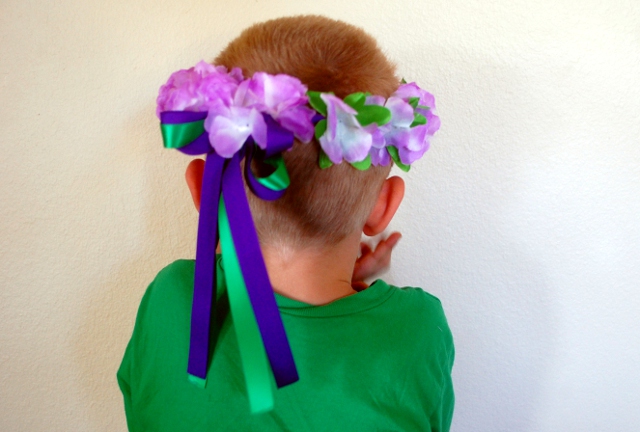

Heheheheheh! It’s very hard to concentrate on the tutorial with your hilarious model!
Thanks for sharing your cool craft idea! I too have to have my boys model any of my girls’ crafts