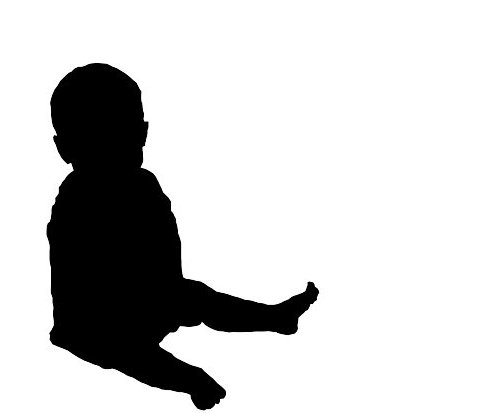
You know what’s fun? Silhouettes. They’re simple, but interesting, with a splash of vintage nostalgia thrown in for good measure. I remember making silhouettes as a child, tracing the outline of my sister’s face on black paper by the light of a lamp turned on its side. These days, anyone with some decent photo manipulation software and a picture can turn out a creditable silhouette without breaking out the scissors.

Photoshop is the standard; I use GIMP – because it’s free. It’s just as powerful as Photoshop, but there’s a bit more of a learning curve, I think. However, if you want to make a silhouette, there are just a few simple steps to follow.
First, choose your photo. A sharp, clear photo with good contrast is best, but you’ll be selecting your outline manually (rather than using an automatic selection tool) so as long as you can see the outline you want to use, it’s fine. Make sure you pick something with an interesting outline – profiles look better than full face shots, and body shots look better if you can see individual limbs.
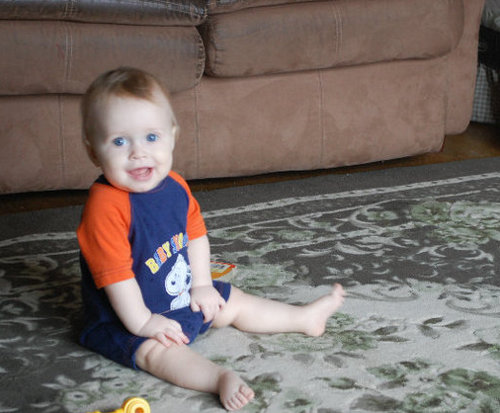
This is the photo I chose:

Teddy is such a good sitter. As you can see if you look back up at the finished silhouette, I probably should have chosen a photo where the arms were more visible. It doesn’t look bad, but it doesn’t look as good as it could.
Now: go to Windows > Dockable Dialogs > Layers (or push Ctrl + L) to open the Layers window. Click the ‘folded paper’ button on the bottom left to create a new layer, selecting a transparent fill type. Create another new layer; now you have three.
Make sure you have the top layer selected, and click on the ‘Paths’ tool (the pen with the square-dotted line beside it). Now comes the time consuming part: click around your picture to select the outline. The more points you add, the less choppy it will look. When you’ve finished, push enter to close the path.
Over on the Toolbox bar, click ‘Selection from Path.’ Select the Fill bucket and fill your selection with black. Now select the middle layer and fill it with white. Look!

You’ve finished, and it looks great.
Tips:
- Zoom in. Zoom way, way in. That way any wobbles in your selection will be minimized when you go back to normal size. This also allows you to capture more subtle shaping in your silhouette.
- Place your dots reeeeally close together. Long sections of straight line in the selection translate into a choppy, ‘5-year-old with scissors’ look in your finished picture.
- Don’t be afraid to Ctrl + Z. If you’re not happy with the dots you just placed, you’re not going to be any happier when you’re halfway around the leg. Undo, and try again.
I can think of all kinds of fun things to do with photo silhouettes – especially since my kids won’t sit still for paper-and-shadow ones. I’d love to do a silhouette of each of my children and frame them on the wall, but I can’t help thinking there should be craftier applications.
What about you? Can you think of anything cool to do with a silhouette?

One comment