Easy DIY Paint With Water

This is a scheduled post. We’re currently on the move!

One of the things I wanted to buy for the boys to play with during our multi-day, half-way-across-the-continent move was a Paint With Water book. I used to play with those when I was a kid, and they’re great. You get all the fun of painting with none of the mess, plus a little bit of magic as the picture comes alive under your brush. Unfortunately, they’re extremely hard to find! Believe me, I shopped around, and I couldn’t find any for what I considered a reasonable price – especially once shipping charges were applied. Most of the ones I found seemed to be old, out of print copies. Why don’t they make these much anymore? I have no idea.

Fortunately there’s another way.

Easy DIY Paint with Water

You can buy something called Watercolor Pencils (sometimes called ‘Water-soluble colored pencils’) that will allow you to pre-color a picture and then paint it just using water. I bought these. Make sure you print off your picture onto cardstock (that’s what I did) or another heavyweight paper; regular printer paper will NOT stand up to that much water. Then you just apply the colors that you want where you want them! To get light colors, you should apply lightly; to get dark, vivid colors you need to put down a lot more and a lot darker. I would avoid coloring the picture normally, then painting it, because that would be a TON of pigment and would definitely allow the kids to make a bit of a mess.

CAUTION! Do NOT use stiff plastic-bristled paint brushes for this activity. It requires quite a bit of rubbing to make the pigment spread around, and the sharp plastic bristles will rip your paper to shreds. Find a softer paintbrush or maybe even a sponge paintbrush instead.

As you can see, my casual zigzag was plenty to fill in the outlines…remember how Paint With Water books always had those weird patterns made with the colors? Dots all over, or stripes, like we wouldn’t notice the color was already there? Good times. If I were making a fancy one I might try following the outlines on the paper to help conceal the watercolor pencil lines a little bit better, but oh well. Great art it isn’t, but fun it surely is.

Magnetic Chalkboard Trays

Hey guys! Guess what I did yesterday?

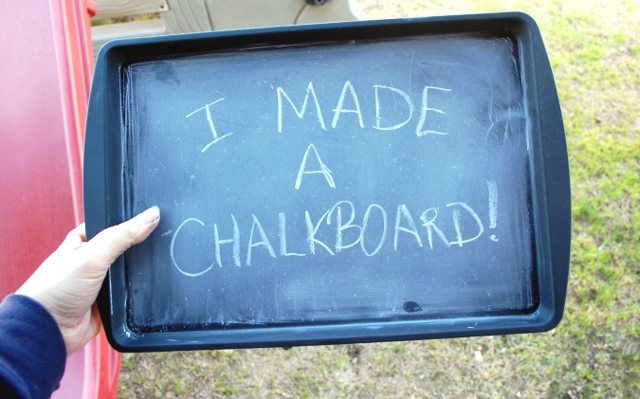
It's a chalkboard!

For the trip, obviously, and I actually made four of them. I’m just going to tell you right now, I’ve never used chalkboard paint of any kind up till now, and IT IS AWESOME. I bought a can of the Rust-Oleum chalkboard spray paint and it worked beautifully.

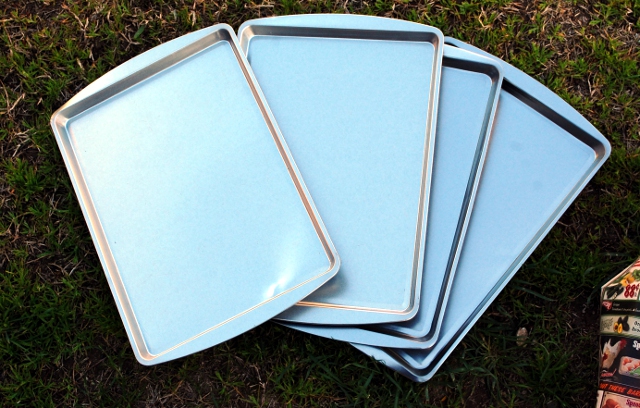
So to make the chalkboard trays, I bought four pans from the Dollar Tree:

See? Pans.

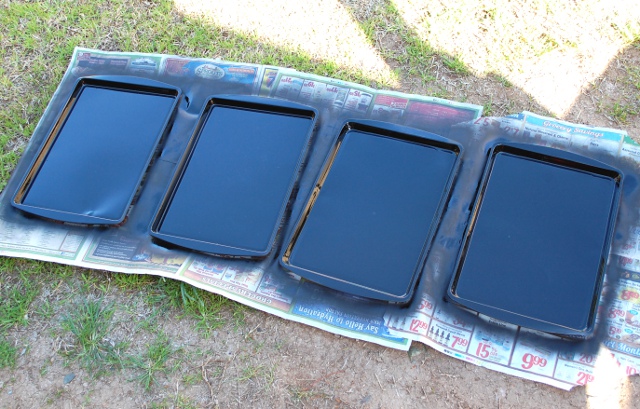
Because, you know. Four kids. When we went to buy them, I had Max bring a little magnet in his pocket to make sure they would stick. Make sure your pans are clean and dry, and then spray them with the spray paint. I did two or three coats – you’re supposed to wait an hour in between coats, but those directions are written for 50% humidity. If we have 50% humidity here, it’s probably ACTUALLY raining. Out in the sun, these dried in no time flat to a perfect chalkboard-y surface.

Lookin good!

(Warning: cover anything under your surface that you don’t want paint on, and spray outside because that’s the way you should use spray paint.)

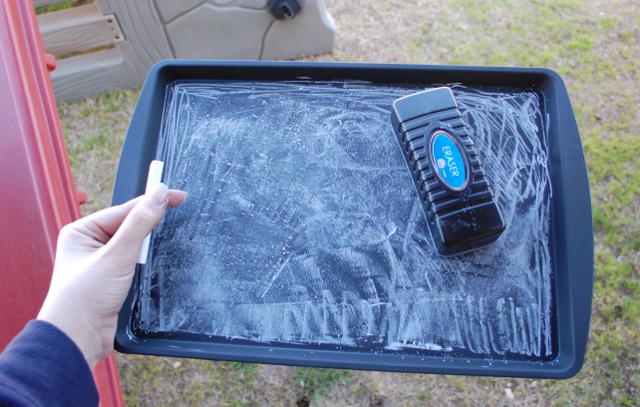
After 24 hours (I’ll give you one guess as to whether I waited that long) you can prime the chalkboard surface by rubbing it all over with the side of a stick of chalk.

Mmm, chalk.

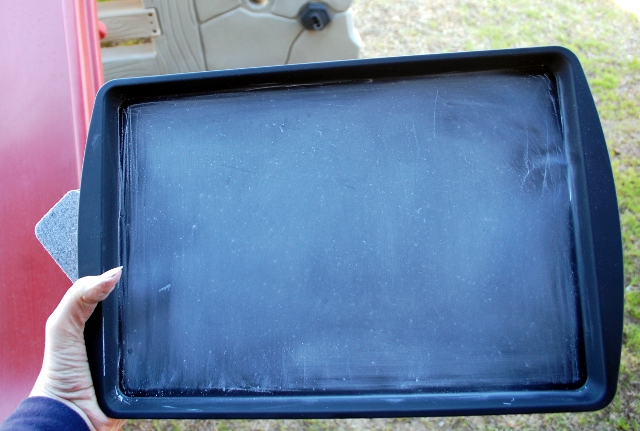
Erase that, and you’re good to go!

Like I said: chalkboard!

I love this paint. I still have some left in the can, and I am bound and determined to find something else to paint with it once we get to Missouri, because it’s AWESOME.

Anyway, I chose to use the pans so that they’d stick to magnets as well as be usable with chalk, but I’m afraid you’ll just have to wait and see where that one leads!

Breakfast and Beautiful Things

I’m trying to clean out our freezer, because… you know. We’re moving. Way at the back I found a giant four-pound bag of strawberries that I must have bought a year ago. Thus endeth the story of why my children got fruit crisp for breakfast.

Strawberry Fruit Crisp

Moments after this picture was snatched the pan was empty. Everybody likes a fruit crisp. I developed this recipe in Japan as an answer to the question, “How do you get small children to eat large amounts of fruit, especially when most of our fruit is frozen?” (Hint: bake it with sugar. The answer to these questions is almost ALWAYS ‘bake it with sugar.’) There is sugar in it, but I tried to keep it to a quasi-low level so I wouldn’t feel guilty calling it breakfast, it’s definitely not as sweet as a regular dessert. It’s delicious, though.

Fruit Crisp

Filling

  • 24-32 oz of frozen blueberries, frozen strawberries, frozen peaches, or whatever (thawed)
  • 1/2 c flour
  • 1/4 c sugar
  • 1 tsp cinnamon (optional)

Topping

  • 1 1/2 c rolled/old fashioned oats
  • 1/2 c flour
  • 1/4 c sugar
  • 1/4 c brown sugar
  • 1/2 c (1 stick) butter, softened

Preaheat oven to 375F. In an 11×7″ pan, mix the filling ingredients. In a bowl, mix the topping ingredients with a fork until it makes nice crumbles and sprinkle it over the top. Bake for 45 minutes; serve with whipped cream or vanilla ice cream if you’ve got them. Enjoy!

Why yes, we do have enough strawberries left for another batch.

Anyway, (as a random aside) I made a couple of necklaces since last night. Greg and I worked for five hours straight, turning the garage upside-down to make sure we found everything that we wanted to go out to the bulk trash pickup, and in the process I found a couple of pieces I’d meant to make into necklaces a few months ago.

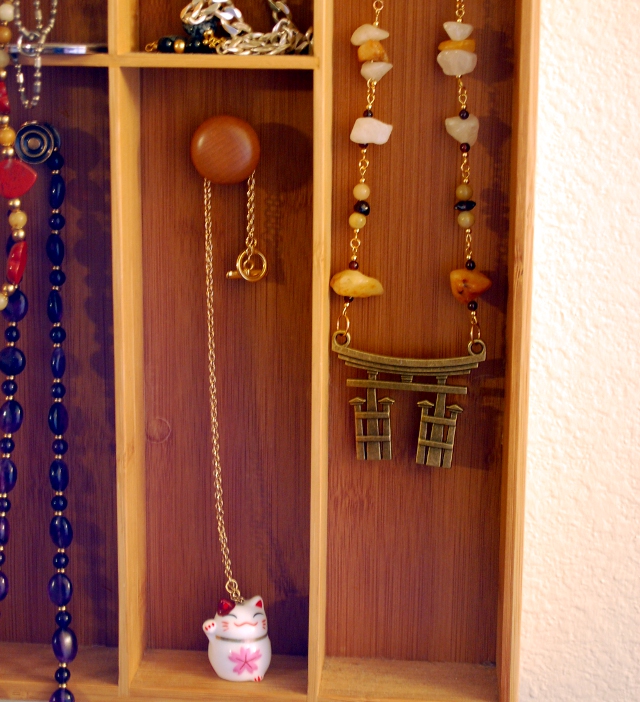
Suki desu yo!

I put the little porcelain maneki neko onto a chain last night, and then made some garnet and gold jade links for the torii gate this morning. It’s not much, but it makes me happy. I love making beautiful things. Sometimes I think jewelry has a lot less to do with making women beautiful and a lot more to do with carrying beautiful things along with you. I bought the maneki neko at Fire Mountain Gems (they have a lot of different ones), and I found the torii gate at Michael’s on clearance and just had to have it. You might recognize the necklace holder they’re sitting in: I made it a few years back, and honestly I think all the trouble I had with it is – in retrospect – hilarious. At least there’s that, right?