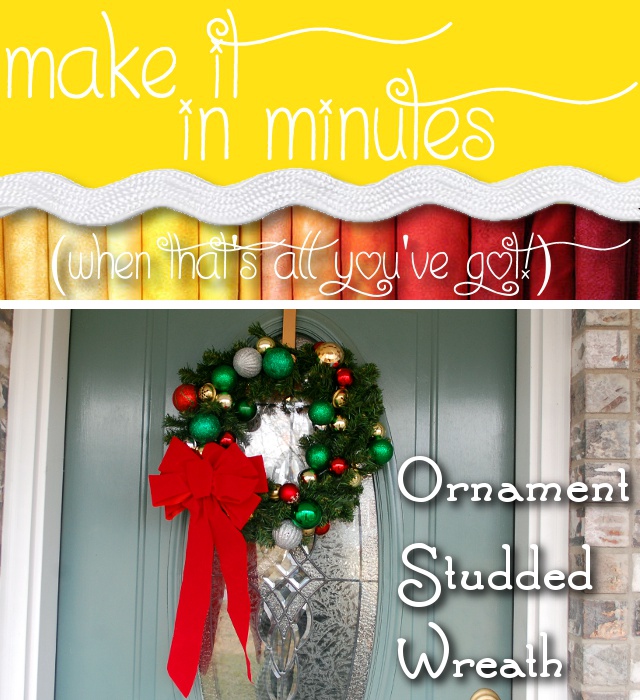
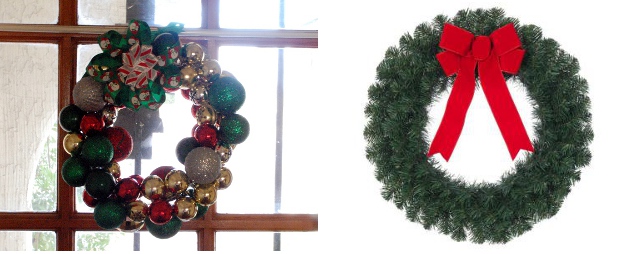
We’ve started pulling our Christmas decorations out, and today I hit the bucket that had the wreaths in it. We have two wreaths: one, the ornament wreath I made a few years back, and two, an old artificial pine wreath that we stuck a red bow on about eight years ago and called good. The ornament wreath has a problem, namely, whenever it’s in storage, a bunch of ornaments pop off. I’ve put it back together and put it back together, but this year when I pulled it out to discover that I’d have to put it back together again, I was just sort of done with it.
“No problem,” I told myself. “I’ll put the other wreath up.”
So, I pulled that one out, only to discover that it really looked sad…flat…and old, with the flocking coming off the bow and the fake pine really looking dull and boring. (It wasn’t an expensive wreath to begin with, I’d be surprised if I paid more than $5 for it when I bought it. Probably less. Probably at a Michael’s as a ‘craft supply,’ so I was probably meant to do something to it besides put it up.)
Since I wasn’t in the mood to go out and get a new wreath but I was also not inclined to let my front door go wreath-less, I came up with a solution.

So, to recap, here’s what I was working with. (Well, the picture on the right isn’t of MY wreath. It’s a sort of glamour-shot of what my wreath could have looked like when new, with a professional fake-pine-arranger on the set.)

If you would like to be not-a-crazy-person and do this the easy way, here’s what you would need:
- Artificial pine wreath
- Christmas ornaments (tubes from the dollar store would work well)
- Yarn or string
- A yarn needle
- A bow
(Estimated Time Required: 20 minutes or less)
I had to undo glue-gun-sealed ribbon and untangle my horrible hanger join to get at my ornaments. Then, I removed the shabby old bow from my pine wreath – I’m pretty sure it’s lived a full life and I’ve gotten my dollar’s worth out of it – and carefully perked up the branches.
Cut off a very long piece of yarn – enough to go the circumference of your wreath at least 2 or 3 times – and thread it on the needle. Tie the end of the yarn around your wreath, leaving a tail at least six inches long for tying the other end to it. Then begin stringing the ornaments on with the needle.
As soon as you have a few inches of ornamented yarn, wrap it around from the back of the wreath to the front and back to the back. Arrange the ornaments so that they will stay on the front (we don’t want ornaments on the back of the wreath, especially if they’re prone to popping off with pressure, like mine) then wrap the yarn tightly around the back and bring it back to the front. String some more ornaments on and repeat around! Make sure you work your yarn in between branches instead of tying them down with it – we want this to be fluffy, not squashed.
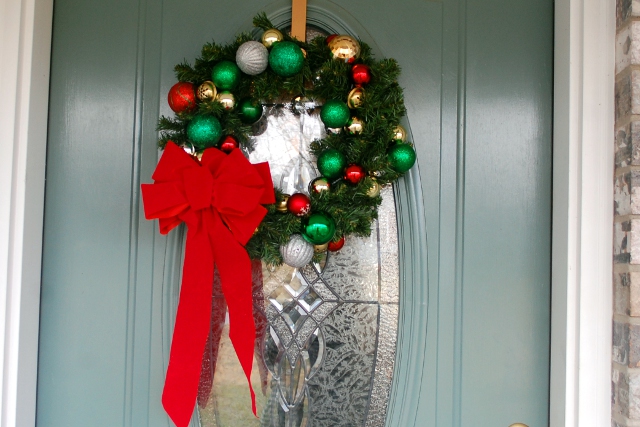
Once you get back to your starting point, tie the ends together firmly and trim them so they don’t dangle. Attach the bow (I substituted a newer one we usually put somewhere else, but I may need to replace some this year) anywhere you like and hang your wreath!

I am very pleased with the way that this turned out. It’s festive, bright, fast, and – for me – FREE! You can’t beat that.
