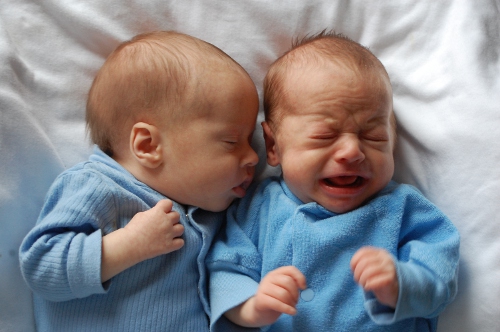
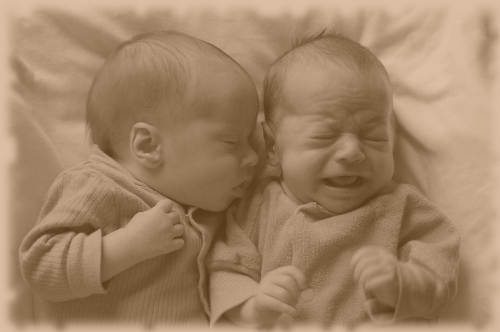
The other day I was playing with some photos and I thought, “I’ll bet I can make these sepia with GIMP.” So I searched, and I found a tutorial. It was long, and it was complicated, but I persevered and at the end, I had a very nice sepia photograph!
Imagine my chagrin, then, when I later discovered that you can get an almost identical effect with one click.

So, you get your photo. (I LOVE this picture. Greg thought it was unfortunate that Tommy was crying, but I think it’s ADORABLE.)
Open it in GIMP. Go to Filters > Decor > Old Photo. The Script-Fu box will pop up with various options – I don’t like to use the Mottle or Defocus, so I just pick Sepia and set the border to 10 pixels (for a photo this size).
Then ta-da!

You have a lovely sepia photo and it only took you about ten seconds.

THANK YOU